Our YouTube channel includes detailed installation guides, frequently asked questions, product overviews and lots more. We are always open to content ideas so please let us know if there is a topic you would like us to cover.
Avoiding Common Mistakes When Installing Shade Sails
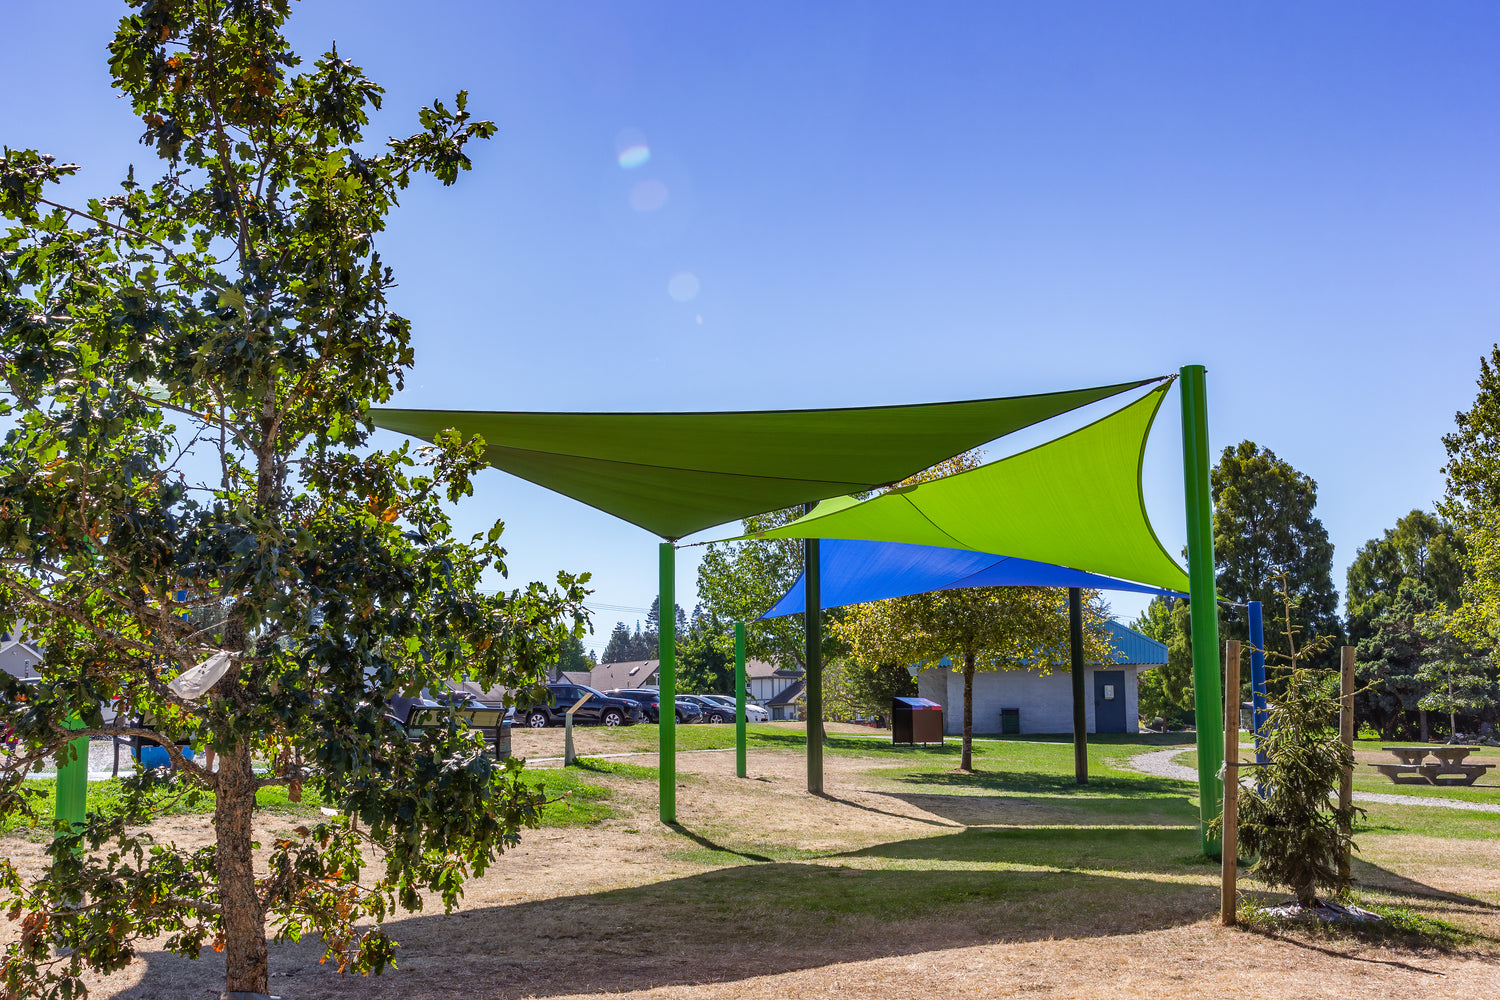
Posts for Shade Sails
When you’re looking for an aesthetically pleasing and functionally effective way to protect your outdoor spaces from the sun, shade sails are an excellent option. One critical aspect that comes with their setup is choosing the correct 'posts for shade sails'. Regardless if you opt for metal posts for shade sails, steel posts or even wooden posts, installation should be done accurately to avoid common mistakes that can undermine functionality and safety alike.
Let’s delve into these issues and understand how to avoid them for a seamless DIY project.
Incorrect positioning of posts
One of the first things to consider when installing shade sails is the positioning of the posts. Wrong placement could result in inadequate shade, poor tension or even damage to the sail. Prior to installation, carefully plan out the positioning of your posts. Also, remember to account for the direction of the sun at different times of the day to maximize shading capabilities. Always check with the experts on what Sail and post layout would be best for your yard. It is very common for DIY’ers to order the wrong Sail and/or place inadequate posts for their space and be disappointed with the results.
Choosing the wrong type of posts
When it comes to posts for shade sails, the material and size matters. Metal or steel posts are usually sturdy and durable, offering ample support for the sail. They are ideal as they cope well with wind and other weather conditions compared to their wooden counterparts. However, if your shade sail is smaller and the area is sheltered, wooden posts for shade sails can be a stylish and sturdy enough option.

Inadequate installation depth
We often underestimate the pressure exerted by a tensioned sail properly.. The bottom-line rule when you install posts for shade sails is; deeper is better. A general rule of thumb, especially for metal and steel posts, is to have at least one third of the post in the ground, effectively concreted in for extra stability.
Improper angling of posts
Angling your shade sail posts can provide additional stability against the forces exerted on the sails. A common mistake is installing the posts vertically, which could lead to problems in the long-run. A tilt outward from the sail, about 10 degrees, can allow for appropriate tension and prolong the lifespan of your sail structure. If your posts are large enough and will not deflect under tension, you can install them vertically. Again ask an expert so you get the results you want.
Neglecting post maintenance
Even with the best installation practices, your shade sail posts are not immune to nature's effects. Regular checking of the posts, especially wooden ones, for signs of rot, rust, or loosening is a crucial part of maintenance that should not be overlooked.
Avoiding these common mistakes can make your DIY shade sail installation a success. The key takeaway points are to position your posts correctly, choose the right material, install them at a significant depth, angle the posts and make maintenance a regular part of your routine. By keeping these tips in mind when working with posts for shade sails, you’ll have a sturdy and effective shade sail that provides you with the protection and aesthetic you desire for many sunny years ahead.
Crucial FAQ's: Avoiding Common Mistakes When Installing Posts for Shade Sails
What common mistakes should I avoid when setting up posts for my shade sails?
One of the most common mistakes is not ensuring that the posts are in a deep enough footing and securely cemented into the ground. This can lead to instability and potentially damage your shade sail structure because you are not able to tension your sail correctly. Another common error is having your posts too low for your Sail.
Having all the posts at the same height or too low can lead to a sagging sail which will pool water and not look great. Additionally, incorrect measurements can also create issues — ensure your shade sail is measured correctly for your post placement, a Shade Sail expert can ensure you provide the right measurements for the perfect fit. A custom fit Shade Sail will last you a lifetime compared to a standard size that doesn’t fit right, it will look poor and last you only a year or two. Ask your expert.

How can installation errors affect the efficacy of posts for shade sails?
Improper installation of posts can lead to structural inadequacies which affect the durability and stability of the shade sail. If the posts are not securely anchored, they can deflect, or worse, fall over under tension or windy conditions. Incorrect angles or unevenly spaced posts also reduce the tensioning ability of the sail, compromising its efficiency in providing shade and weather protection. Lastly, poor installation may lead to the premature wear and tear of both the shade sail and the posts themselves.
What factors should I consider when installing posts for shade sails to avoid common mistakes?
To ensure a successful installation, several considerations are paramount:
- Material Choice: Opt for high-quality, durable materials that can withstand adverse weather conditions. Custom made Shade Sails will provide you the longest life of shade, 15 years +.
- Positioning & Spacing: Ensure posts are evenly spaced and properly aligned with the shade sail. For best results ask an expert.
- Installation Depth: The posts need to be deep enough to withstand the tension from the shade sail and strong winds. 3-4 feet deep dispensing on sail size and frost line. Ask your expert.
- Proper Heights:: Posts should be at the right heights for look, wind and water shed.
- Secure Anchoring: Use concrete or another strong anchoring material to secure the posts firmly into the ground.
Why is it important to correctly install posts for shade sails, and how can I avoid common errors?
Correct installation of posts for shade sails is critical since it directly influences the structure's stability and lifespan. A secured shade sail provides optimal protection against natural elements like UV rays and rain.
Avoid common errors by conducting diligent planning and preparation. Firstly, understand the specifications of your shade sail and site conditions, then design a layout that compliments both. Precisely measure and mark the points for your posts. Ensure your posts are dug deep enough into the ground for proper anchorage. Always get a professional's help, it will be the difference between an inadequate shade sail and lifetime shade sail.
Consider hiring a professional to help if you don't have the required construction and landscaping skills. Remember, it's all about striking a balance between aesthetics, functionality, and safety. With proper installation, your shade sail can offer years of protection and leisure enjoyment.