Our YouTube channel includes detailed installation guides, frequently asked questions, product overviews and lots more. We are always open to content ideas so please let us know if there is a topic you would like us to cover.
DIY or Professional Installation? Weighing the Pros and Cons of Shade Sails

A shaded outdoor space is priceless in the sweltering heat of summer. It provides a reprieve from the sun, a comfortable spot to relax, and even extends the longevity of your outdoor furniture. As a home improvement expert and DIY enthusiast, I’ve explored various methods to achieve this. One method that consistently stands out—whether you choose DIY or professional installation—is weighing the pros and cons of shade sails for their affordability, versatility, and aesthetic appeal.
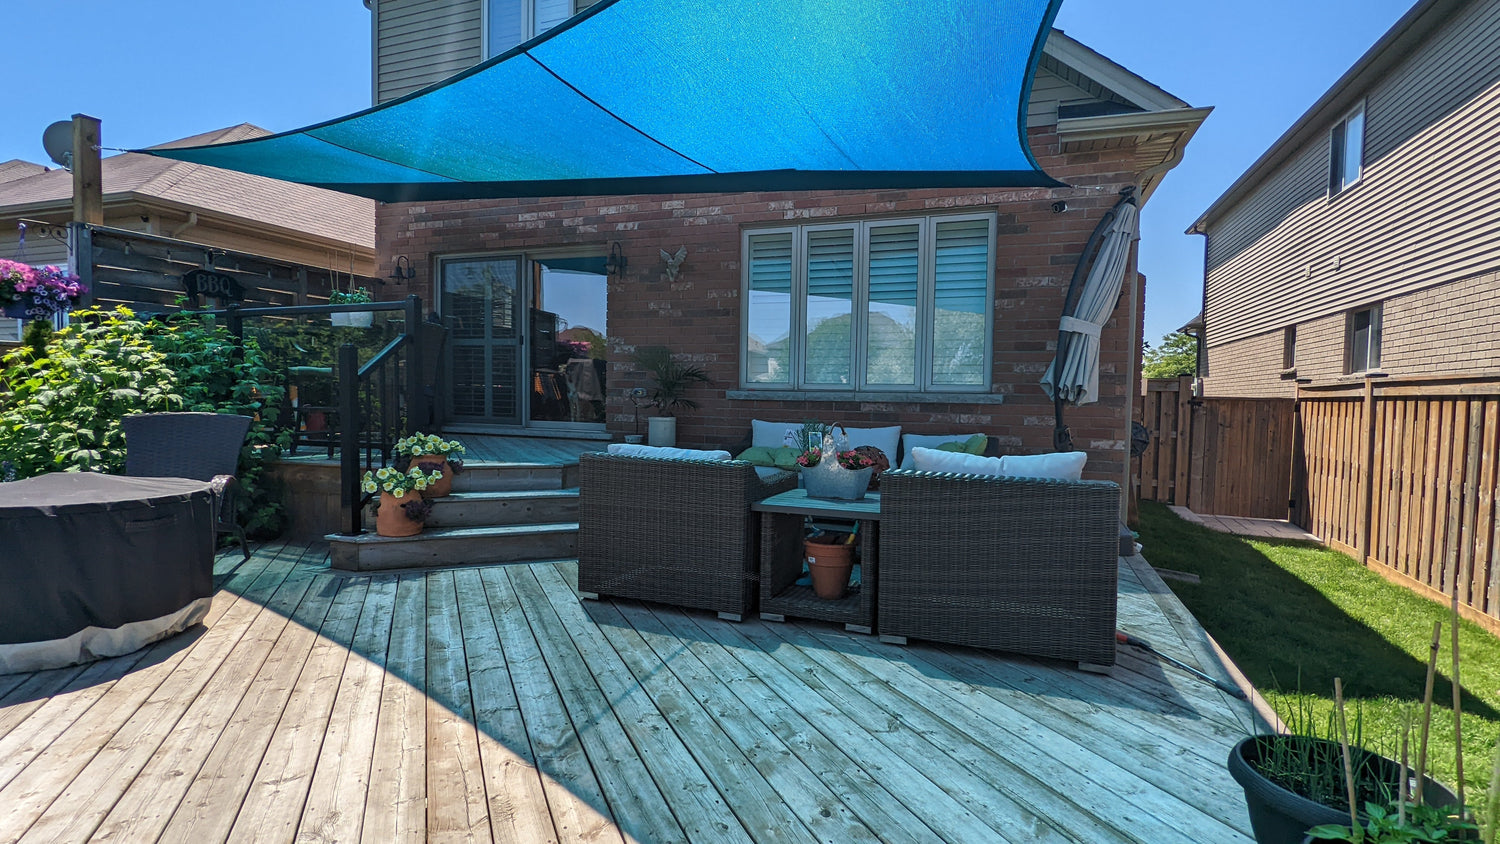
A DIY shade sail is a shade structure made from durable fabric tensioned between multiple anchor points. It offers an affordable solution that delivers a strong aesthetic appeal to your outdoor space. DIY shade sail post ideas vary widely, ranging from utilizing existing structures such as trees, walls, or fences, to erecting dedicated DIY shade sail posts or poles.
First, let's explore the benefits of taking on a DIY project.
Pros of DIY Shade Sail Installation
- Affordability: Opting for a DIY shade sail significantly cuts down on labor costs. This allows more flexibility in choosing higher quality material or larger sails, ensuring the longevity and efficacy of the shade.
- Versatility: There is freedom in creativity with DIY shade sail post ideas. You can adjust sizes, shapes, and the array pattern as best suits your area.
- Satisfaction of a Job Well Done: Nothing quite matches the satisfaction of a completed DIY project—particularly when it comes to DIY shade sails.

Cons of DIY Shade Sail Installation
Despite the apparent allure of a DIY shade sail project, some potential drawbacks must also be considered.
- Time and Labor-Intensive: Installation requires significant effort and patience. It's not as simple as merely erecting DIY shade sail poles or posts. Anchoring, tensioning, and securing the shade sail properly are crucial to its effectiveness and safety.
- Leveled Ground: Installation also requires a fairly level ground. This means if you're considering a DIY shade sail carport, prepare for potential ground leveling work before installation. If you are installing posts at different grades do consult with shade sail experts.
- Stand on Sturdiness: Depending on the size of the shade sail and the materials used, sturdiness can be a challenge, especially in wind-prone areas.
Pros of Professional Installation:
On the other hand, professional installation can solve many of these challenges but comes at a higher price point.
- Quick Installation: Professionals have the necessary tools and expertise to install shade sails efficiently.
- Optimal Setup: The right tension and anchoring are ensured, delivering optimal performance and longevity.
Cons of Professional Installation:
- Higher Cost: Professional services generally command higher prices due to labor and expertise involved.
DIY Shade Sail Projects: FAQ
What are some useful tips for beginners?
Plan ahead by considering sun movement, wind direction, and available anchor points. Keep the sail tightly tensioned, use the right tools, and don’t hesitate to consult an expert—especially when it comes to hardware and positioning.
Which materials work best for DIY shade sails?
Use HDPE fabric for UV protection and breathability. Choose stainless steel hardware for tensioning, and opt for galvanized or steel posts if you're not attaching to a building.

What mistakes should I avoid?
Avoid poor anchoring, incorrect slope, and low-quality materials. Don’t skip maintenance—and always check local regulations before starting a large installation.
What are some simple DIY projects for beginners?
Start with a patio shade sail or poolside setup using existing structures. A basic carport shade with four anchor points is also a great entry-level project.
Conclusion
Choosing between DIY or professional installation means weighing the pros and cons of shade sails based on your time, budget, and project goals. While DIY offers flexibility and cost savings, professional installation ensures durability and ease. Whichever path you choose, the result should be a shaded, stylish outdoor space you can enjoy for years to come.


