Our YouTube channel includes detailed installation guides, frequently asked questions, product overviews and lots more. We are always open to content ideas so please let us know if there is a topic you would like us to cover.
A Guide to Ordering and Installing Custom Shade Sails
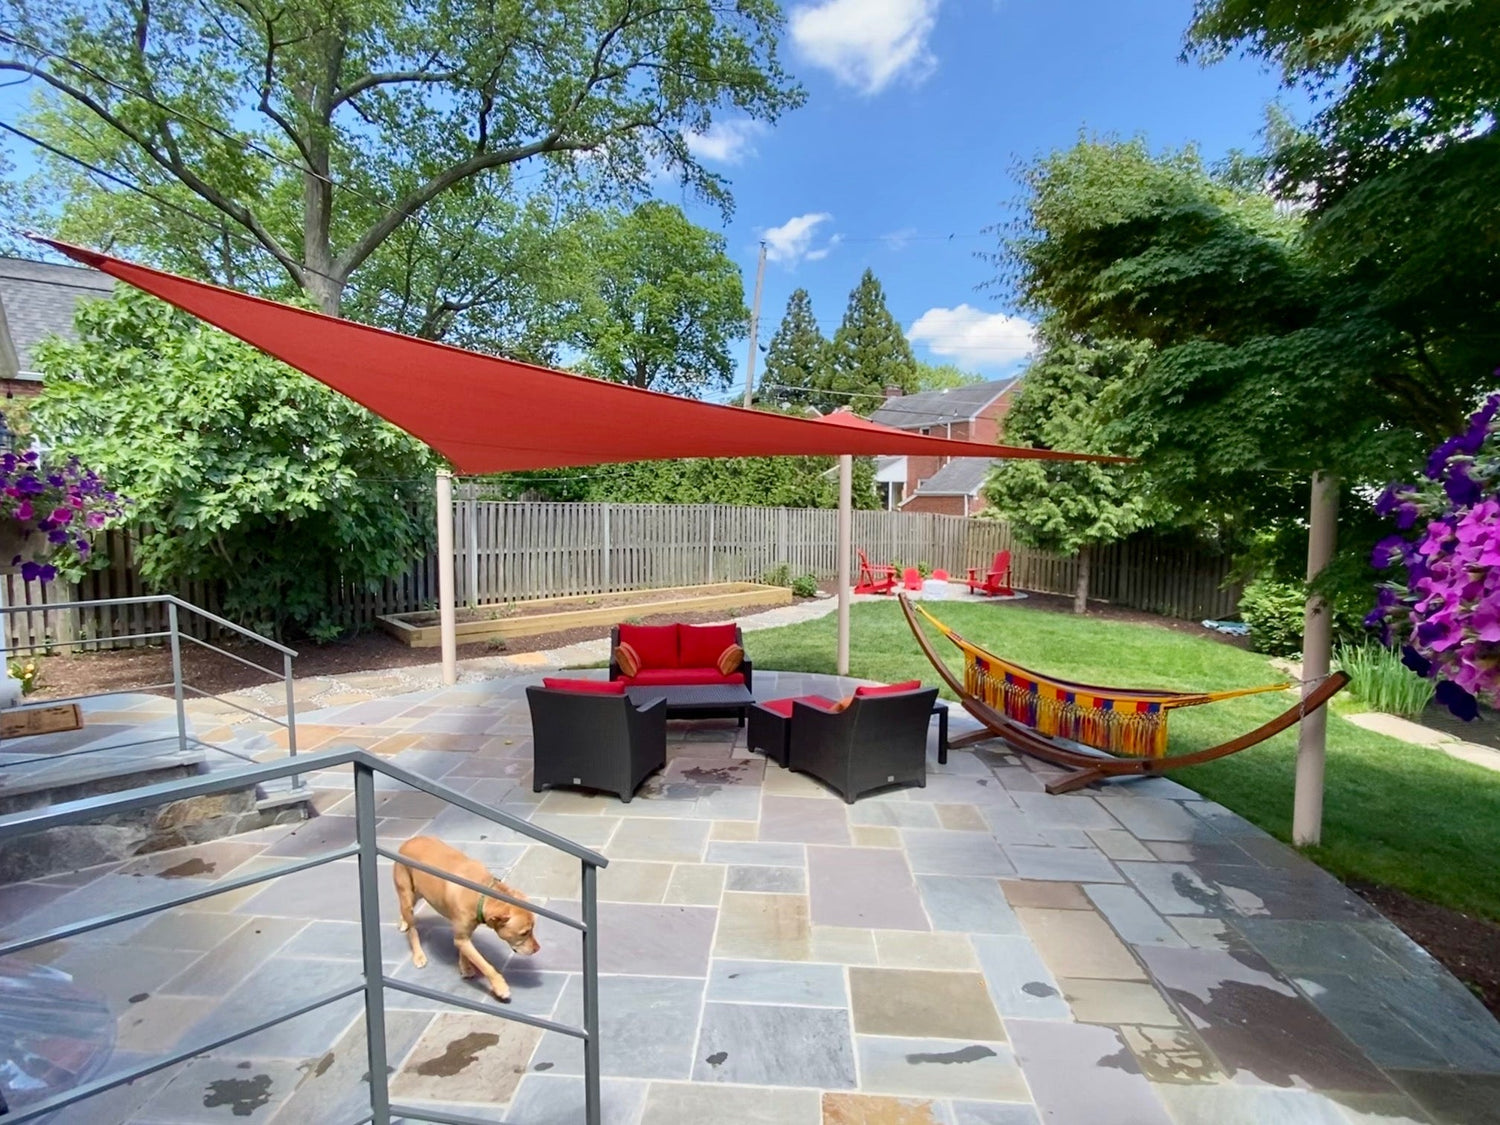
Creating a comfortable and stylish outdoor space begins with thoughtful design choices—one of the most impactful being the installation of a shade sail. Unlike standard, off-the-shelf options, a custom shade sail is tailored specifically to your environment. This ensures a perfect fit, enhanced functionality, and a polished aesthetic. Here's how to navigate the process of ordering and installing a custom shade sail for lasting results.
Why Choose a Custom Shade Sail?
Custom shade sails offer multiple benefits that make them a worthwhile investment:
-
Precision Fit: Designed to match your exact space, custom sails maximize shade coverage while maintaining a sleek, taut appearance.
-
Material and Color Options: Choose from a range of UV-resistant fabrics, textures, and colors that complement your exterior design.
-
Superior Durability: Custom sails often use higher-quality materials and reinforced stitching, ensuring they stand up to weather conditions over time.

Steps to Install a Custom Shade Sail
Installing your custom sail properly is crucial for both function and safety. The process includes:
1. Accurate Measurement
Before placing your order, measure the area carefully. Include the distance between planned anchor points and note any obstacles. Precision here ensures the sail fits exactly as intended.
2. Anchor Point Setup
Install anchor points on strong, stable surfaces like structural walls or steel posts. Use appropriate hardware such as wall plates, eye bolts, or turnbuckles rated for outdoor use.
3. Attaching the Sail
Once the sail arrives, connect each corner to the corresponding anchor point using stainless steel hardware. Begin with a loose connection to allow for adjustments.
4. Tensioning
Gradually tighten each corner using turnbuckles or ratchets until the sail is firm and wrinkle-free. Balanced tension across all corners prevents sagging and improves the sail’s wind resistance.

Maintenance and Care
To keep your custom shade sail in peak condition:
-
Clean Regularly: Hose down the fabric occasionally and use mild soap to remove dirt or mildew.
-
Check Hardware: Inspect fasteners, turnbuckles, and mounting plates periodically for wear or corrosion.
-
Seasonal Removal: In climates with severe winters or storms, remove the sail during off-season months to prevent damage.
Conclusion
A custom shade sail not only elevates your outdoor aesthetics but also delivers reliable sun protection tailored to your needs. By measuring accurately, installing thoughtfully, and maintaining it properly, you'll enjoy a high-performance, visually appealing shade solution that lasts for years.