Standard Sized Quadrilateral Shade Sail
Measurements
The measurements displayed are fabric to fabric. Thus, the final dimensions between anchor points are slightly bigger. Please check our guides below to ensure your Standard Shade Sail will fit the space:
Triangular Shade Sails
Quadrilateral Shade Sails
Explore our Custom Solutions for a perfect fit!

Custom vs. Standard
At Shade Sails Canada, we specialize in custom-sized shade solutions. We believe that every shade product should fit perfectly and complement your outdoor space. We offer both standard-sized products in a limited range of the most popular sizes and colours and custom-sized products, which can be made to fit any space. We recommend using the calculator on the Custom Shade Sail page to determine the cost for your project and viewing the colour range to see which fabric would fit best for your space.
Using the right shade sail for your space is essential in ensuring proper tensioning and validating your warranty. Please read our shade sails sizing guide.
Installation
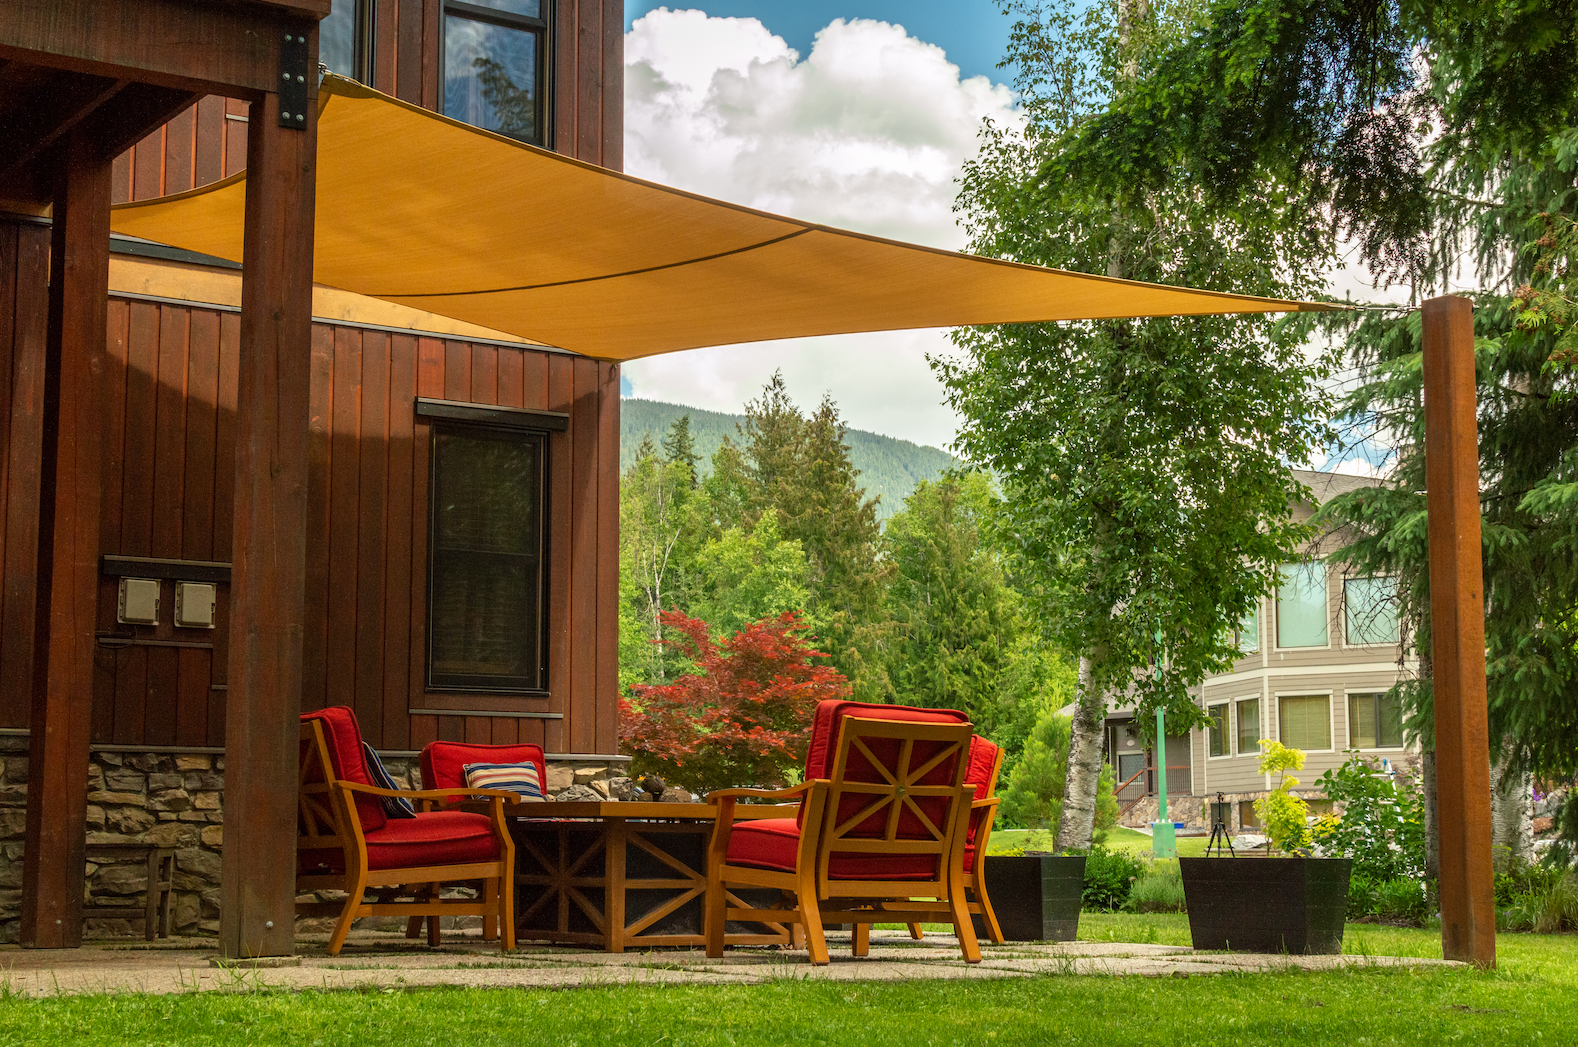
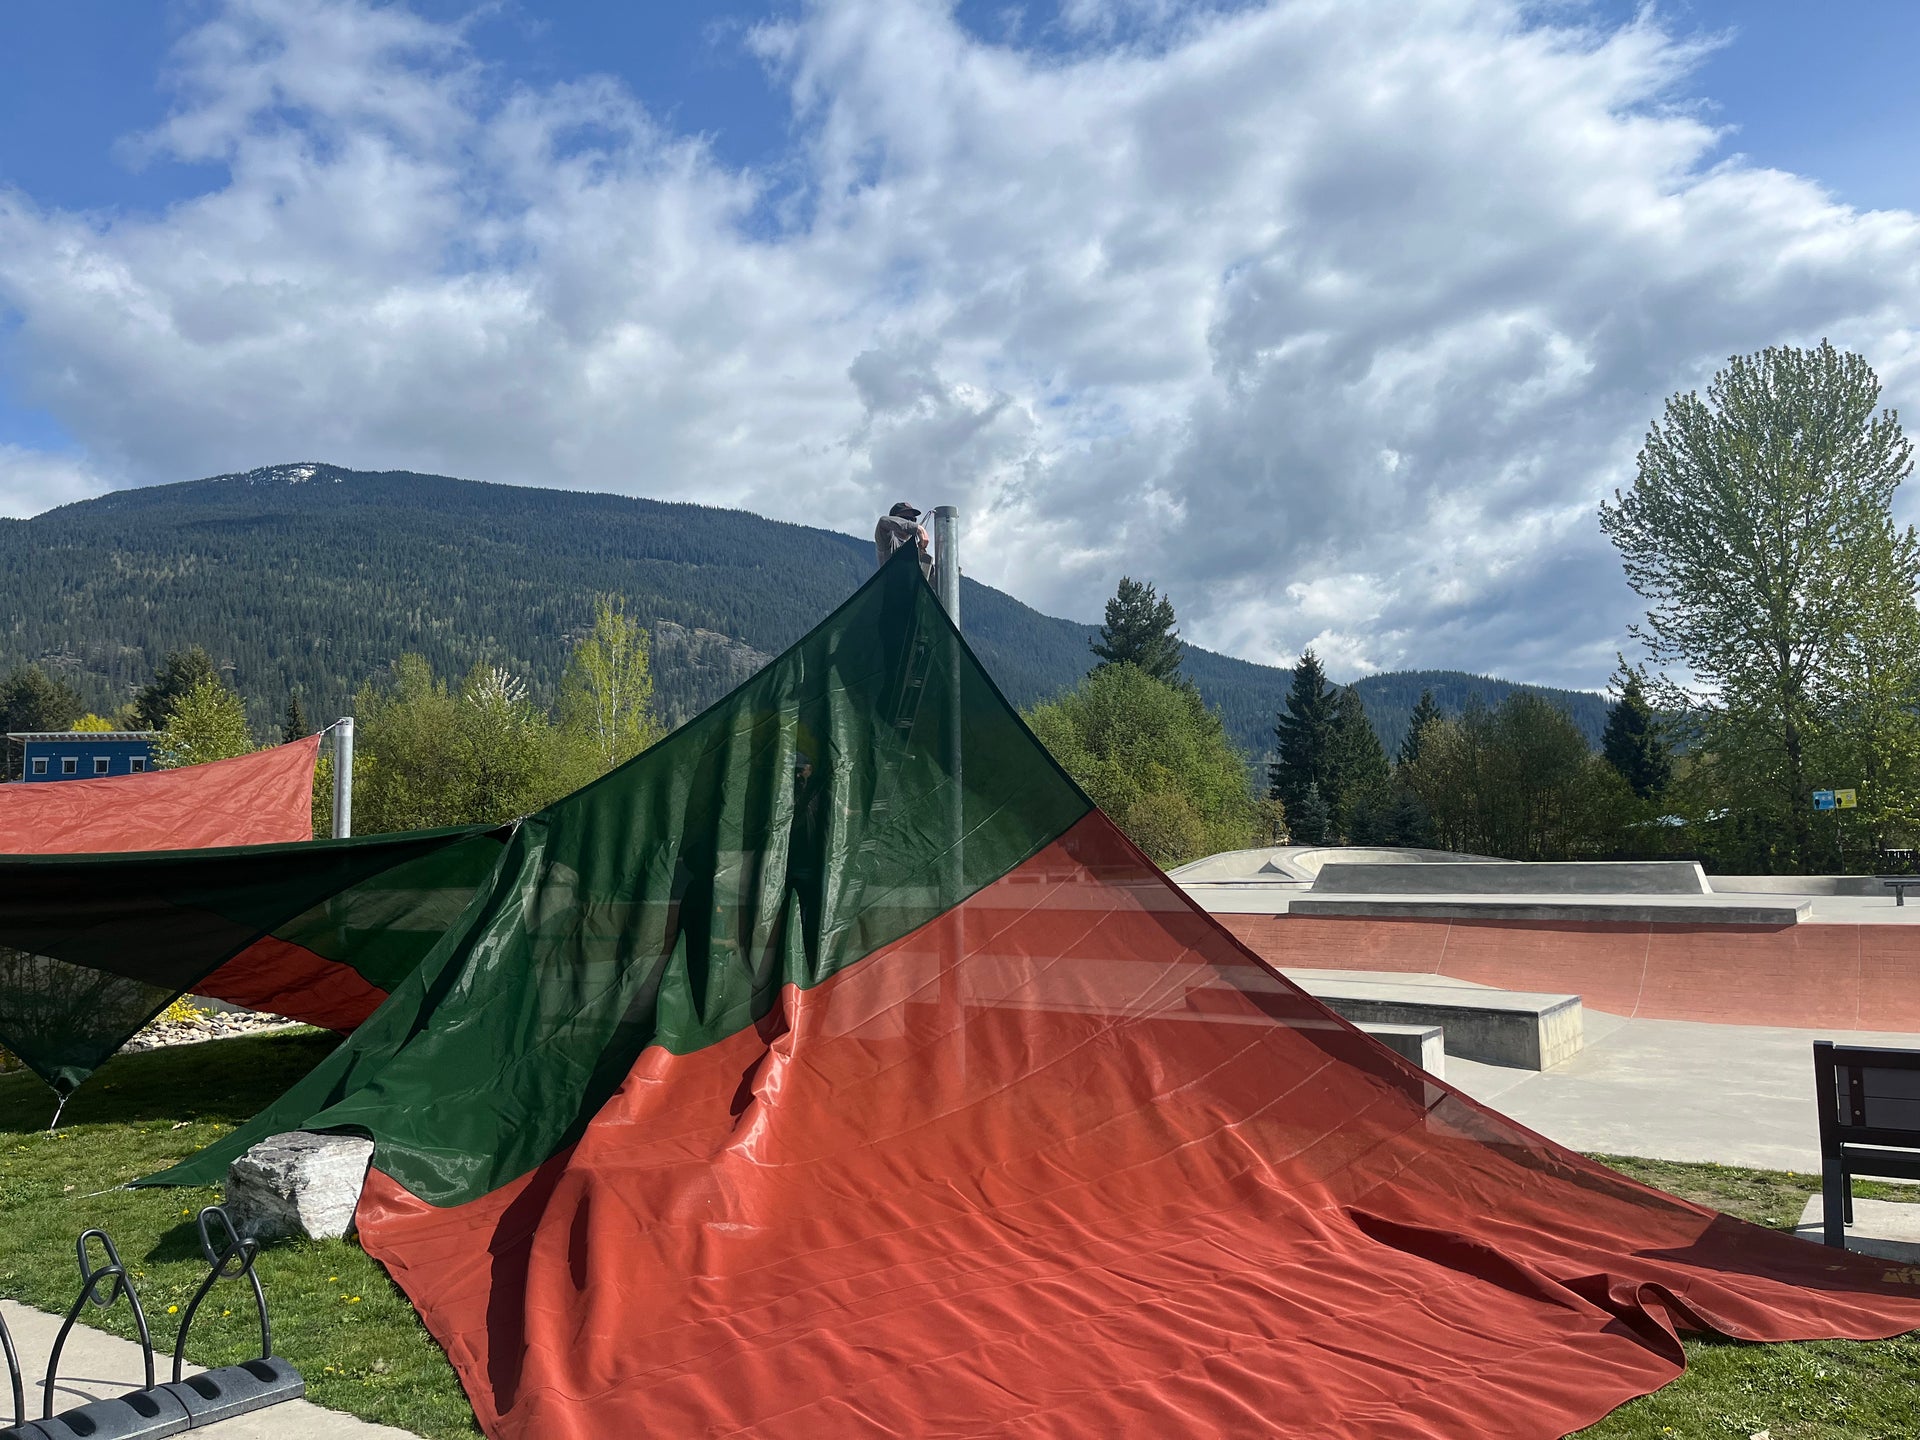
Shade Sails can be installed in minutes. Check the video and make sure your turnbuckles are tight!
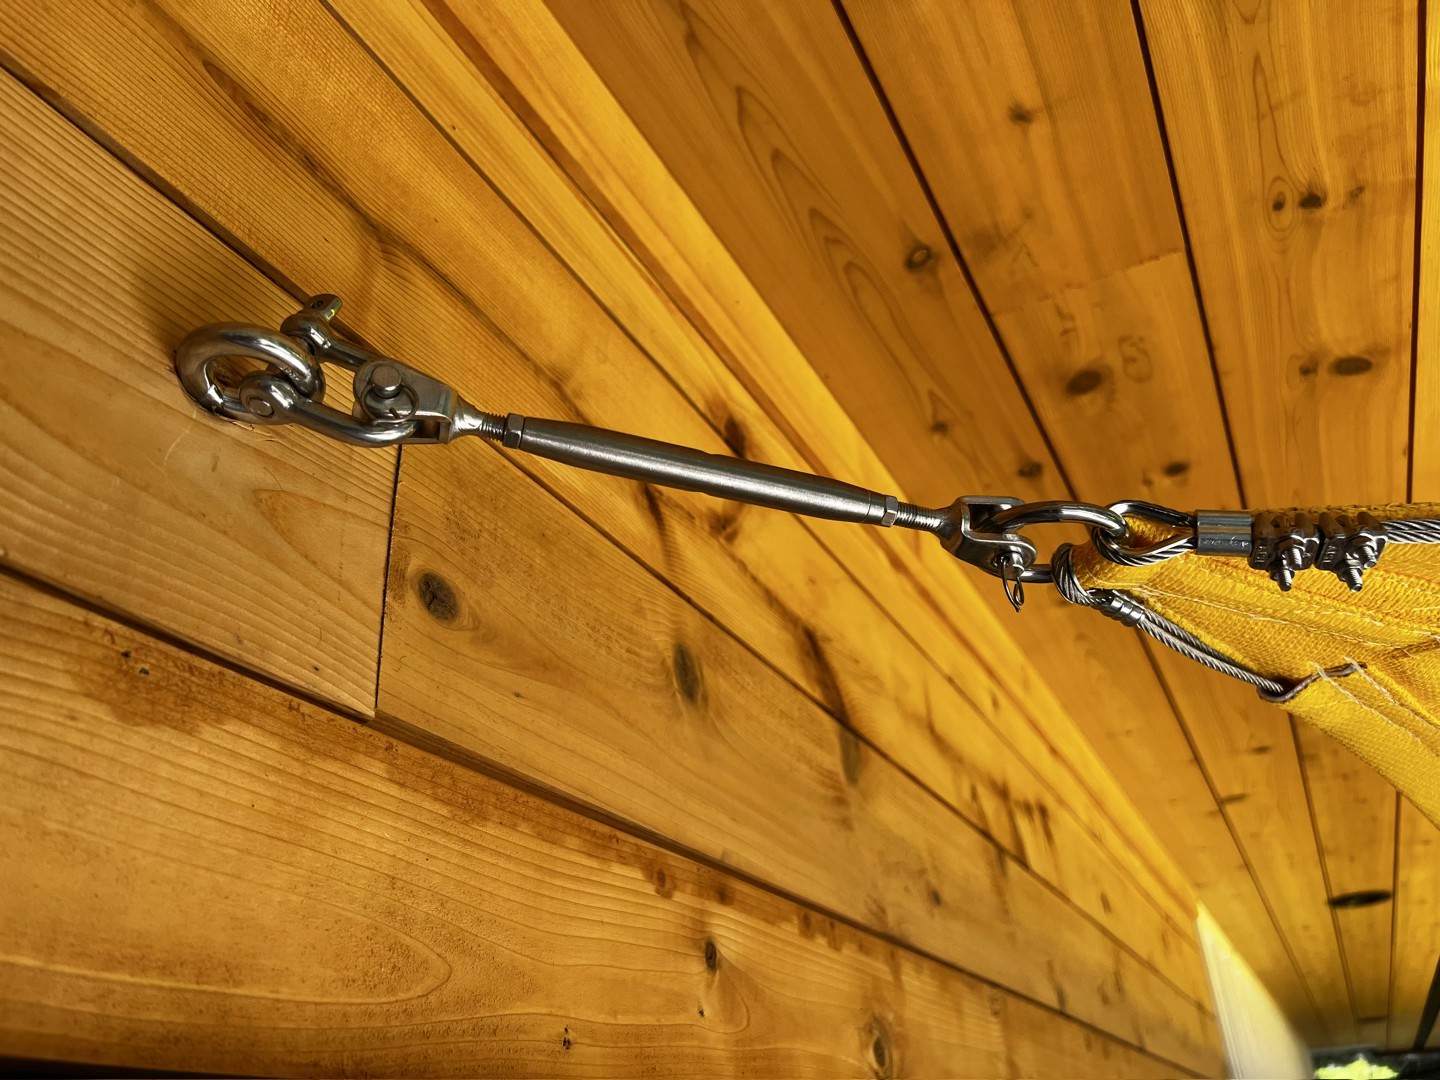
Please note not all corners have a turnbuckle. We do that to maximize the shade
Where to Attach My Sail?
Shade Sails are extremely strong and durable systems, but are only ever as strong as their attachment points. We will work with you to ensure your existing structures, posts or frames are substantial enough to withstand the load from these tensioned systems.
It’s important that your anchoring points are strong enough to withstand the tension and forces that are applied when flying a Shade Sail correctly. You should also allow sufficient space for hardware and predetermined stretch that is an integral part of your Shade Sail.
Because of this, we’ve created illustrations of the correct site dimensions to not only help you envision your space, but also to ensure that you have enough space to properly install and tension your Shade Sail.
When it comes to anchoring your Standard-size Shade Sail, we recommend using our Marine Grade Stainless Steel Anchor Hardware - specially chosen to perform exceptionally under all weather conditions for years to come.
What's Included with My Shade Sail?
Our Standard-size Shade Sails are manufactured and shipped fully-cabled with all the appropriate Marine Grade Stainless Steel tensioning hardware conveniently installed. They are ready-to-fly with our Advanced Tensioning System, Double Stitched Seams and Triple Layered Reinforced Corners.
We also take care of shipping costs for you, and our Shade Architects are always ready and willing to take your call should you have any questions regarding fitting your Shade Sail or tensioning it correctly.
Because every installation is unique Anchor Hardware is not included and must be purchased separately.

The Design
Shade sails are designed for 3 seasons and are intended to come down during snow months. Enquire with us if you need support doing so with our Drop & Fly program.
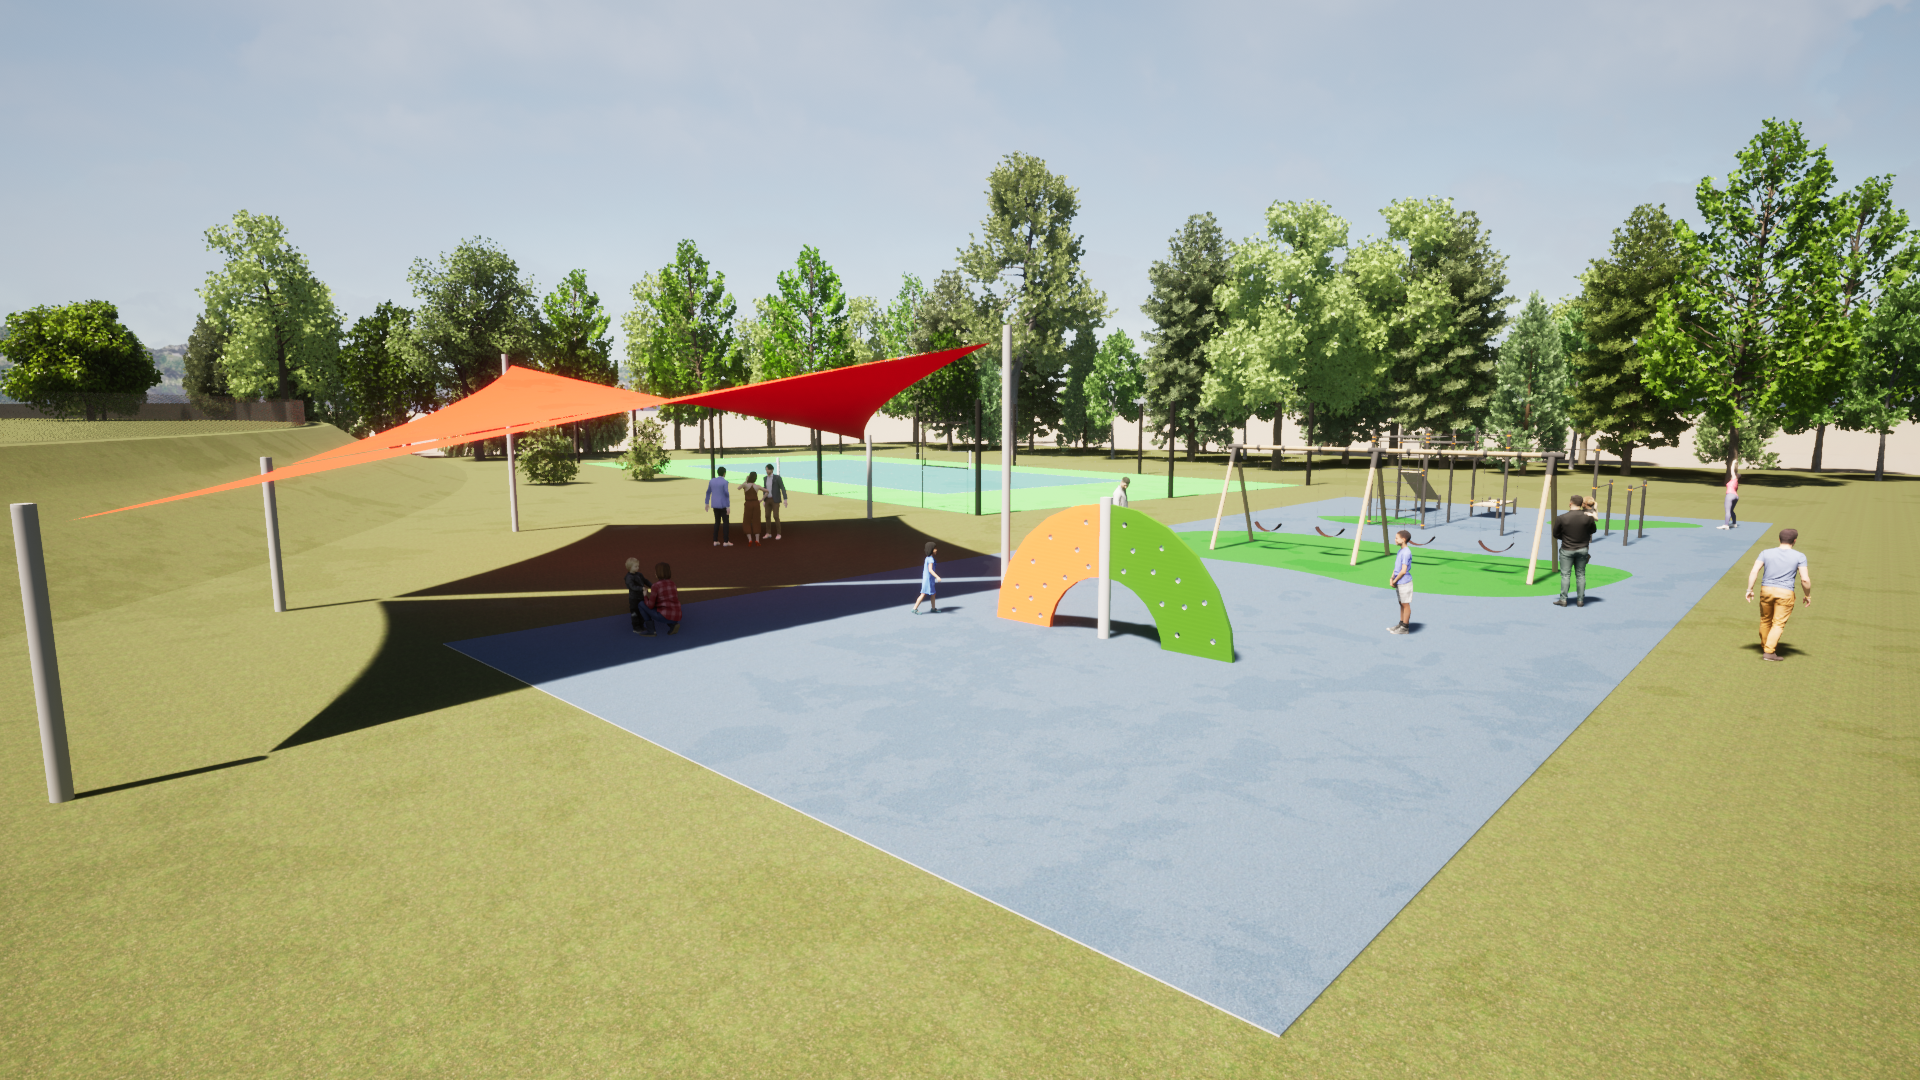
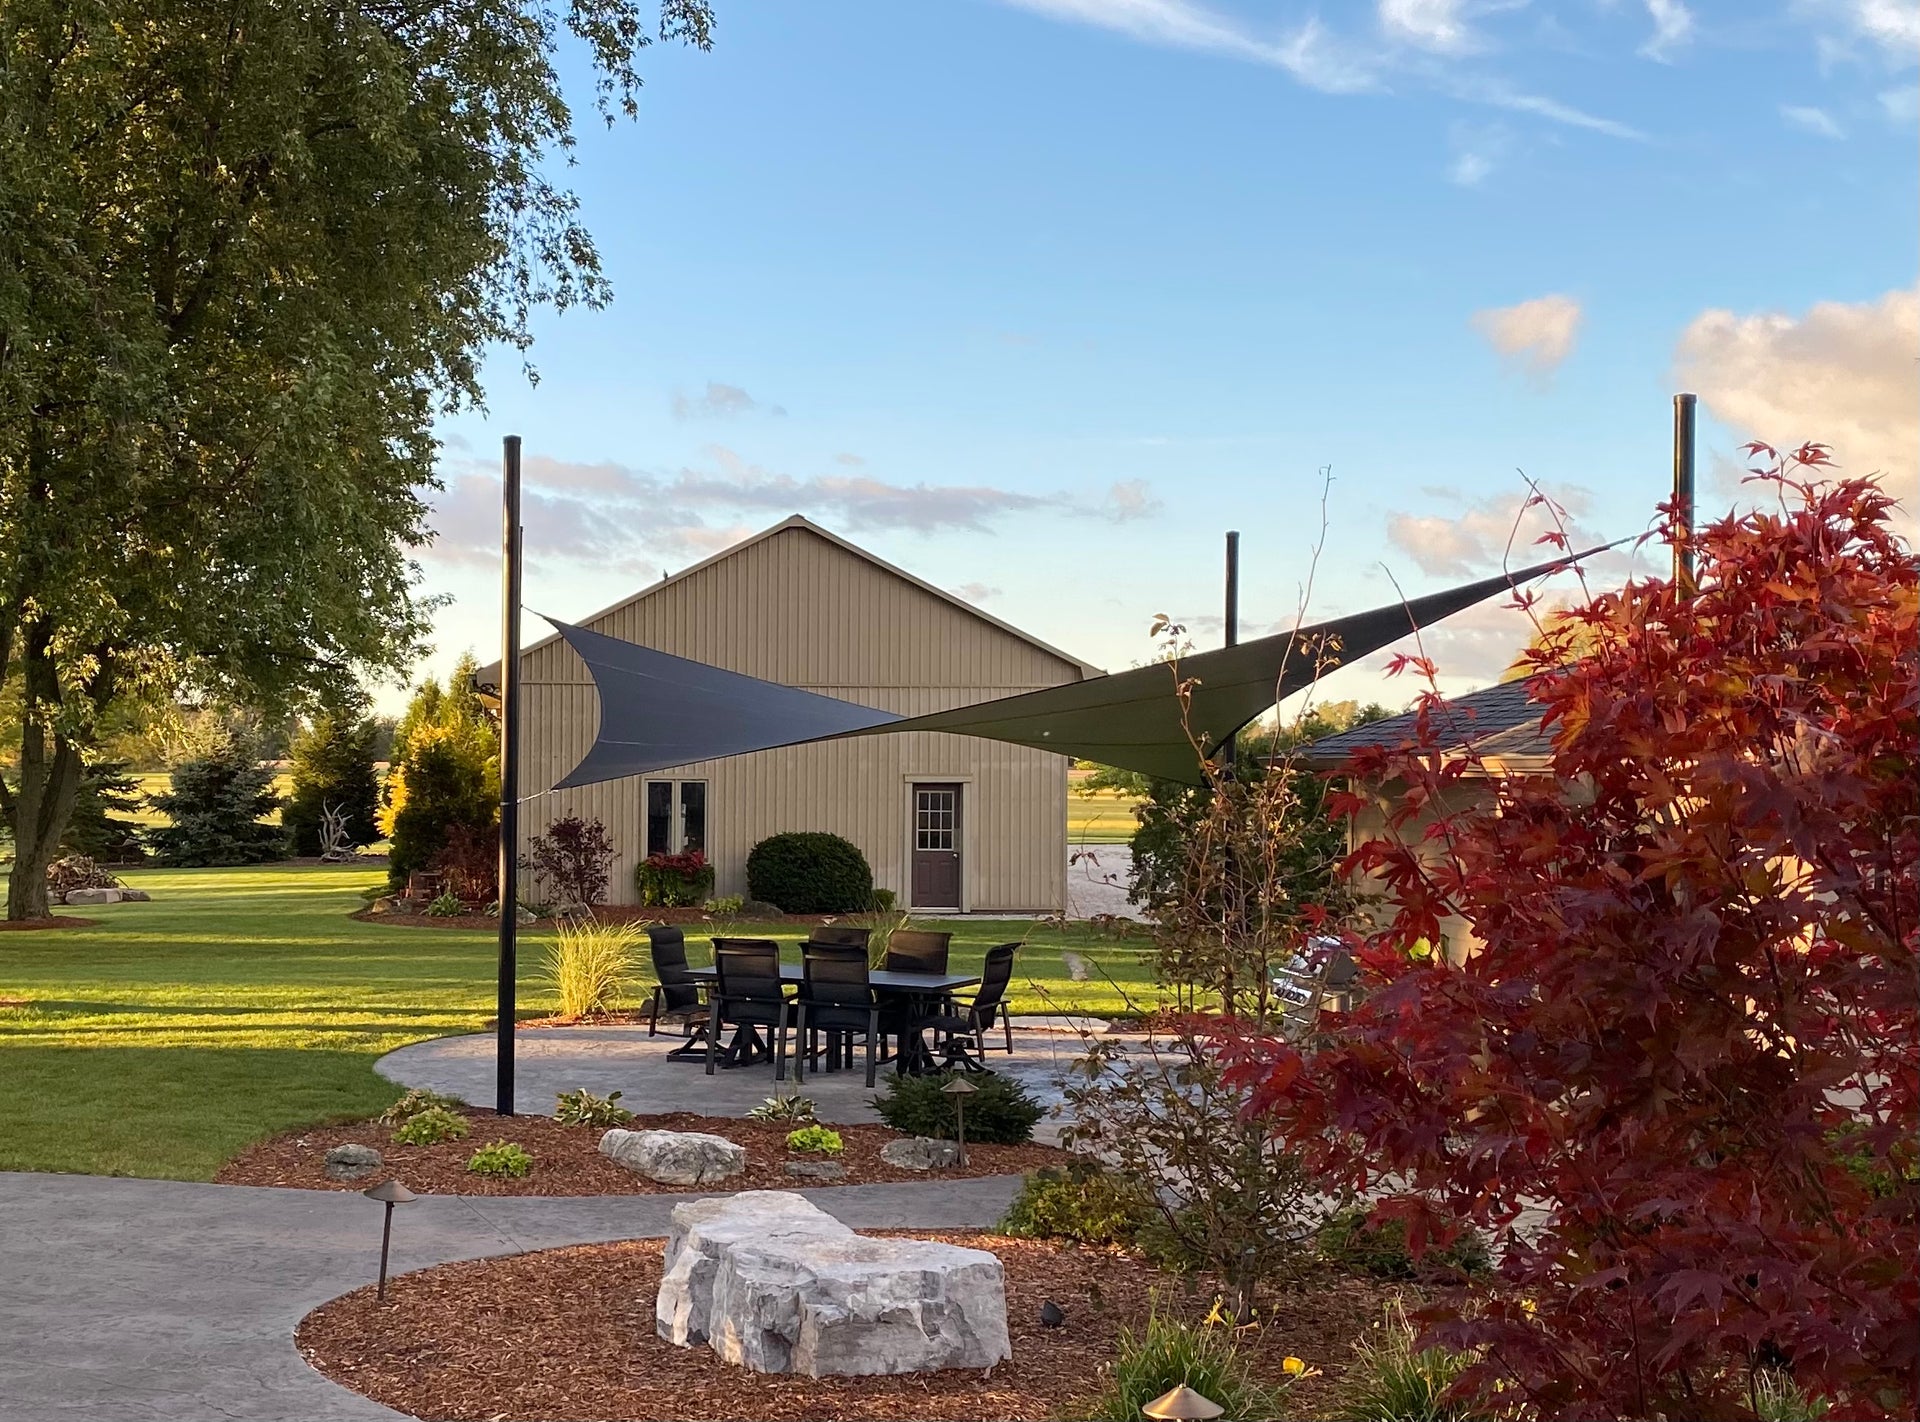
Height variance is key. The hyperbolic shape aids with water runoff, performance in wind, and creates a greater shade if facing west. With a proper design our Shade Sails can go through a cyclone!
Our Shade Analysis & Design is the best way for you to not only visualize your next project but it’s also the best way for you to analyze just how much shade will be created at different times of day or year.
Triangle vs. Quadrilateral
Our Standard-size Shade Sails are available in both 3-Point and 4-Point options. Each shape is also available in our most frequently requested sizes to make this process that much easier for you!
The measurements for each sail are taken when the sails are not under tension, so it’s important to ensure that you have sufficient spacing to allow for hardware, as well as some stretch in the fabric.
Not to worry - we have laid out the appropriate site dimensions for each Standard-size so you’re able to easily order the correct Shade Sail for your space. We cover this in the next tab!

How to gauge the height of your Sail
We often say that our Shade Sails are the best combination of fashion and function, with the sails not only looking incredibly appealing and artistic, but are also aerodynamic in high winds, excellent at shedding water and most importantly providing shade coverage where it’s most desired.
In order to achieve this, we look at varying the anchoring heights. Diagonally opposite high and low points help achieve what is called a hyperbolic (twisted) shape!
In measuring your space for a Standard-size Shade Sail, it’s important to keep these height variances in mind. Your measurements should always be from one intended anchor point to the next, and the heights taken from a common reference point - whether it be the flat ground upon which your posts or building sits, or the lowest common point that your anchoring posts or wall share.
Fabric Selection
At Shade Sails Canada, we offer quick and simple shading solutions. Our Standard-size Shade Sails are prefabricated and ready to ship.
We use our high-quality Commercial Grade Light fabric, which means you still receive the 15 year warranty that is applied to this fabric. UV degradation, rot and mould are all covered by this warranty, with this fabric being tear-proof and fade-resistant too!
Our Standard-size Shade Sails are available in our 4 most popular colours!


