Our YouTube channel includes detailed installation guides, frequently asked questions, product overviews and lots more. We are always open to content ideas so please let us know if there is a topic you would like us to cover.
Crafting Your Oasis: The Ultimate DIY Shade Sail Setup Adventure
Embarking on a DIY shade sail setup adventure transforms your backyard into an oasis of comfort and style. Whether you're a seasoned DIY enthusiast or a beginner eager to dive into a new project, installing a shade sail provides homemade sun protection while enhancing your outdoor living space. This guide will walk you through the process with enthusiasm and clarity, ensuring you create a functional and aesthetically pleasing outdoor canopy installation.
Planning Your Custom Canopy Project
Before you dive in, it's crucial to plan your DIY shade sail setup thoroughly. Begin by assessing the area where you'd like to install your shade sail. Measure the space to ensure you purchase the correct size and shape. Consider factors such as sun direction and potential obstacles like trees or buildings. This part of the planning will help maximize the effectiveness of your homemade sun protection.

Selecting the Right Shade Sail
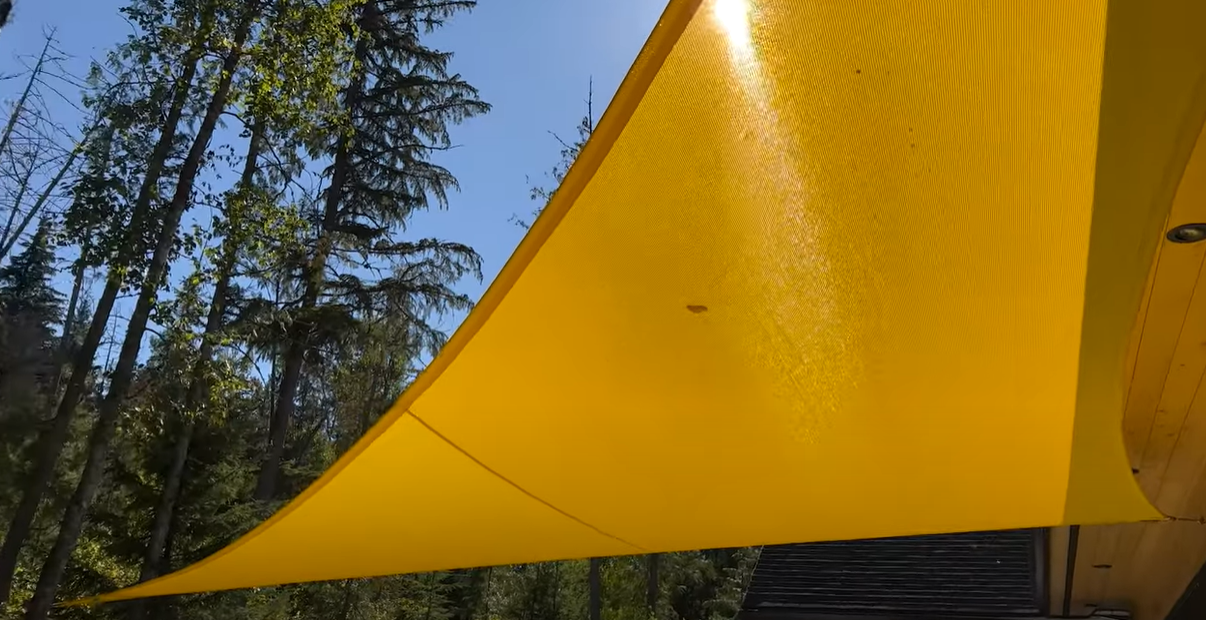
Shade sails are available in various shapes, such as triangles or rectangles and materials. Choose a durable, UV-resistant fabric that complements the aesthetics of your outdoor space. Selecting the right sail not only enhances your patio but also ensures longevity and effective sun protection.
Gathering Tools and Materials
Having the right tools and materials at your fingertips is key to a smooth patio sail anchoring process. You'll need a tape measure, a ladder, a drill, screws, mounting hardware and sturdy posts if attaching to the ground. If affixing to a wall, ensure the structural stability to hold the tension of the sail.
Step-by-Step Guide to Installation
Marking Anchor Points
Begin by marking the anchor points on your walls or posts. Measure from the corners of the intended shade sail area to ensure symmetry and even tension. Be methodical in your measurements to achieve the best shade coverage and aesthetic appeal.
Installing Anchor Hardware
Securely install the mounting hardware at the marked points. If using posts, ensure they are deeply set into the ground for stability. Drill the appropriate anchors into walls, columns, or posts, ensuring a firm grip to support the tension from the shade sail.
Attaching the Shade Sail
With the anchors in place, it's time to attach the shade sail. Begin at one corner, stretching the sail to the next point and attaching the hardware. Use adjustable turnbuckles to maintain even tension across the whole sail, preventing sagging and increasing wind resistance.
Enhancing Your DIY Setup
For those looking to add a personal touch, consider incorporating lighting around your new outdoor canopy installation. String lights along the edges of the sail or place solar lanterns nearby to extend usability into the evening. It's these creative enhancements that truly personalize your oasis.
Additionally, incorporating elements like hanging plants or outdoor rugs can unify your space, adding to the tranquil ambiance. Experiment with furniture placement beneath your shade sail for both functional and decorative benefits.
Safety and Maintenance Considerations
When setting up your DIY shade sail, prioritize safety. Double-check the security of all attachments periodically, especially after extreme weather conditions. Regular maintenance, such as cleaning the fabric and checking the hardware, will preserve the shade sail's integrity and prolong its lifespan.
Do you need more insights on whether to install your sail yourself or hire a professional? Visit our detailed article on DIY vs. professional installation here.
Troubleshooting Common Issues
Facing an unexpected challenge? Common issues like sagging can often be resolved by adjusting tension or re-aligning anchor points. If water pooling occurs, increasing the slope can aid in proper drainage, preventing fabric damage.
What materials do I need for a DIY shade sail setup?
The success of a DIY shade sail project largely depends on having the right materials and tools. The foundation of your setup is the shade sail fabric, which should be a high-quality, UV-resistant material to withstand the elements and provide effective shade. The fabric usually comes in pre-made shapes such as triangles, rectangles or squares, allowing you to select one that best fits your space and design vision.
Essential tools include a tape measure for accurate dimensions, a sturdy ladder for installing at heights, and a drill with the appropriate bits for secure installation. You will also need mounting hardware like eye bolts, turnbuckles, and shackles, which are crucial for tensioning the sail effectively. For setups with posts, invest in strong, weather-resistant posts — either wood or steel — and concrete or ground spikes to ensure they are securely set in place. If mounting to walls, ensure you have the right anchors suited to your wall material, whether it is brick, stone, or wood.
How can I design my own shade sail for my backyard oasis?
Designing your own shade sail involves both creative planning and practical considerations. Start by envisioning the purpose of your shade sail: Is it to create a shaded dining area, a relaxing reading nook or a playful space for family gatherings? Understanding the primary function will guide your design in terms of size, shape, and placement.
Next, consider the aesthetics and the environment of your space. The color of your shade sail can complement existing outdoor furniture or contrast to make a bold statement. Neutral colors like beige or grey blend well with natural settings, while vibrant shades like red or blue can add a splash of energy. Evaluate your backyard's architecture and landscape to integrate the shade sail seamlessly. You may want to sketch your layout or use design software to visualize different configurations.
Factor in the sun's path and the direction of the sail to optimize shade throughout the day. A slight tilt can also enhance water run-off capabilities, reducing the risk of sagging or water pooling. Don't hesitate to experiment with overlapping sails of different heights and shapes for a dynamic, layered effect that adds both visual depth and practicality.

What are the steps involved in crafting my own DIY shade sail setup?
The process of crafting a DIY shade sail setup begins with careful planning and preparation. Start by measuring the area to determine the appropriate size and shape of your sail. Once you have these dimensions, purchase a shade sail that best fits these requirements. Acquire all necessary tools and materials, ensuring they are suitable for your specific setup needs, whether it involves ground posts or wall mounts.
After gathering your materials, mark the anchor points where the sail will attach. These points should be evenly spaced to maintain symmetry and ensure tension across the sail. Drill the anchor hardware into walls or secure the posts, making sure they are stable and able to bear the sail's tension. When setting posts, digging post holes at least one-third of the post height ensures maximum stability.
Next, attach the sail starting from one corner, using turnbuckles and shackles to secure each point. Adjust the turnbuckles to achieve the right tension, aiming for a taut sail that resists wind and water accumulation. Once the sail is in place, perform thorough checks to ensure all attachments are secure and the sail is level. Regular checks and adjustments will help maintain the sail’s integrity over time.
What are some tips and tricks for a successful DIY shade sail setup adventure?
A successful DIY shade sail project is as much about smart planning as it is about execution. One trick for ensuring even tension is to initially attach the sail with slight slack and gradually tighten the turnbuckles. This approach prevents overstressing the hardware or fabric during the installation process.
Moreover, consider using temporary markers or stakes to outline the sail's coverage area before drilling or setting posts. This allows for adjustments based on sun coverage or aesthetic preference without making permanent changes. Another valuable tip is to install your shade sail with a slight incline to facilitate water run-off, which helps mitigate the risks of sagging and water pooling.
In addition, regularly inspect your setup for wear and tear, particularly after severe weather events. This preventive maintenance can prolong the life of both the sail and the supporting structures. Lastly, integrating elements like outdoor lighting and decor beneath the shade sail can enhance its visual appeal and functionality, creating a welcoming outdoor space for both day and night enjoyment.
Conclusion
Your DIY shade sail setup adventure culminates in a customized, beautiful outdoor space that's both functional and inviting. Armed with this guide, you're now ready to create an inviting oasis that offers cool relief and elegant style. Embrace the adventure, and enjoy the satisfaction of crafting your backyard haven.