Our YouTube channel includes detailed installation guides, frequently asked questions, product overviews and lots more. We are always open to content ideas so please let us know if there is a topic you would like us to cover.
How to Install a Shade Sail on Brick Using Expansion Anchors
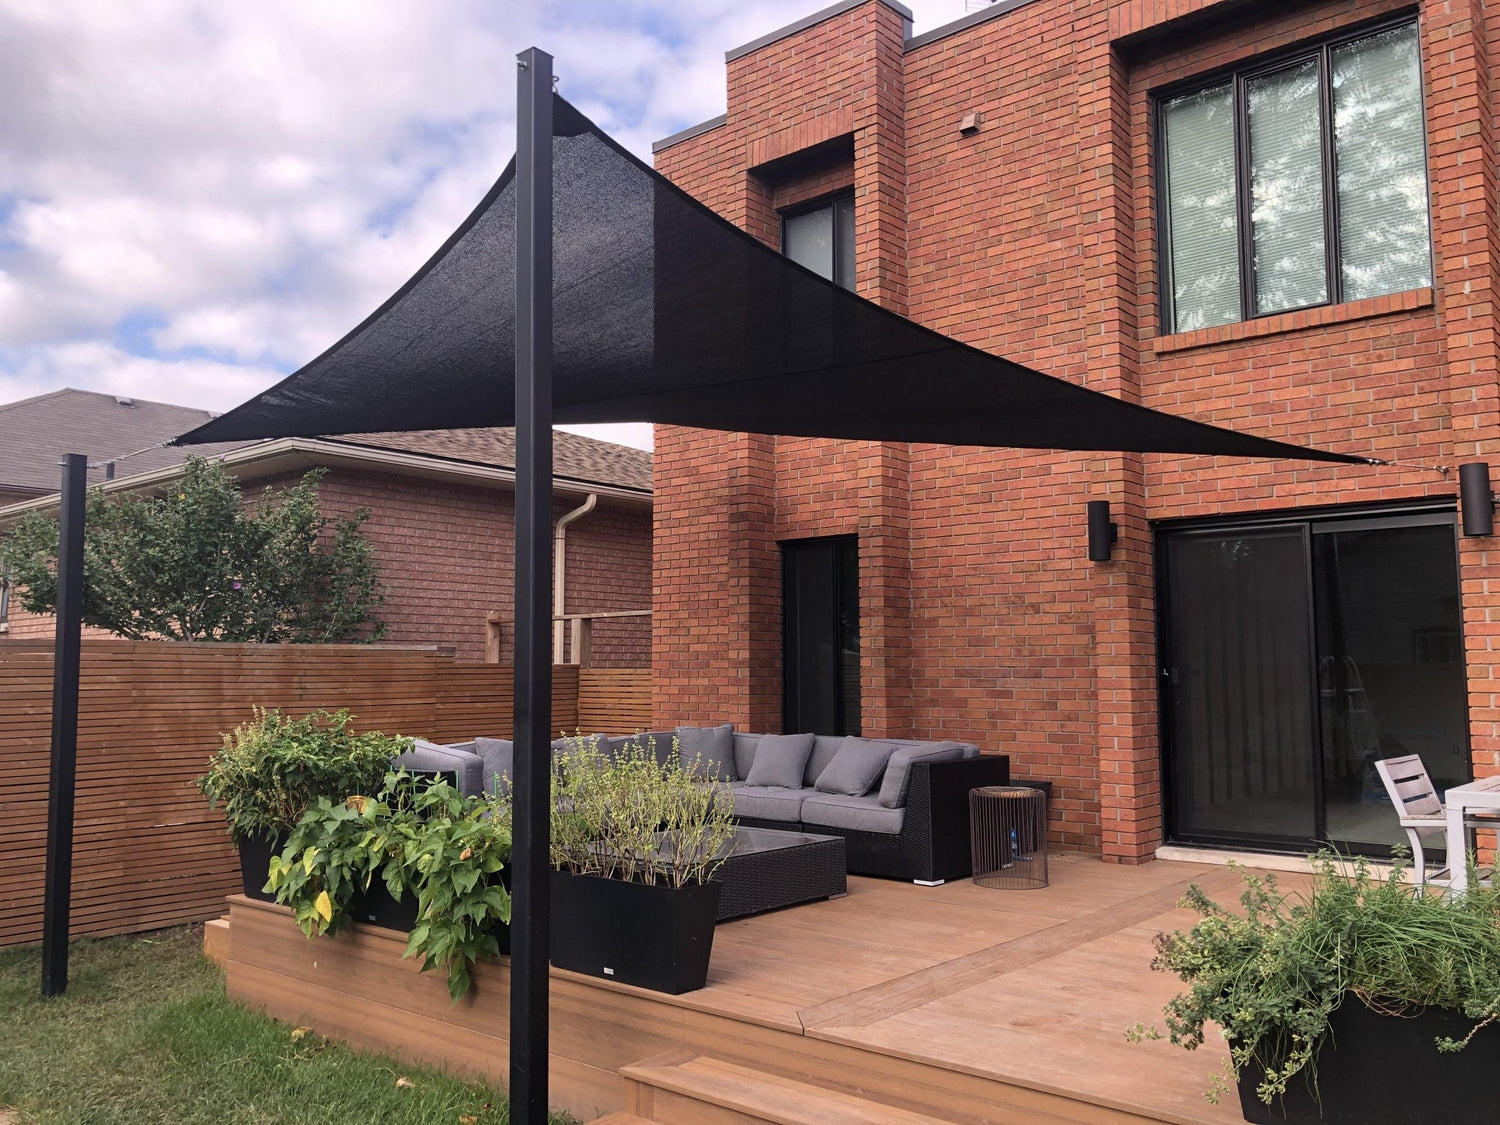
Installing a shade sail is a great way to add comfort and elegance to your outdoor space, but doing so on a brick surface requires precision and the right hardware. Expansion anchors are a reliable and secure solution for mounting shade sails to brick walls. Below is a step-by-step guide to ensure your installation is safe, stable, and built to last.
Why Use Expansion Anchors for Brick?
Brick surfaces present a strong but brittle mounting base. Regular screws or fasteners may not be sufficient to hold under the constant tension of a shade sail. Expansion anchors, on the other hand, are specifically designed to grip securely within masonry. When installed properly, they provide a sturdy and long-lasting attachment point for your sail.

Tools and Materials Needed
Before getting started, gather the following:
-
Shade sail
-
Expansion anchors suitable for masonry
-
Wall plates or pad eyes
-
Turnbuckles, D-shackles, or snap hooks
-
Power drill with masonry bits
-
Measuring tape and level
-
Pencil or chalk
-
Wrench or socket set
-
Hammer (optional for anchor seating)
Step 1: Mark Anchor Points
Determine the ideal locations for each anchor based on the size and shape of your shade sail. Use a measuring tape and level to ensure the anchor points are properly aligned. Mark the positions clearly with a pencil or chalk. Keep in mind that a slight slope in the sail is recommended to allow for water runoff.
Step 2: Drill Holes into the Brick
Using a drill fitted with a masonry bit, drill holes at the marked points. The diameter and depth should match the specifications of your expansion anchors. Be sure to drill into the brick itself, not the mortar joints, for maximum strength.
Step 3: Install the Expansion Anchors
Insert each expansion anchor into its corresponding hole. You may need to tap the anchors gently with a hammer to seat them flush with the wall. Once inserted, tightening the anchor will cause it to expand, locking it securely into the brick.
Step 4: Attach Mounting Hardware
Use a wrench or socket set to secure wall plates or pad eyes to the installed anchors. Check that each fitting is tight and aligned correctly. This hardware will serve as the anchor points for your shade sail’s corners.
Step 5: Install and Tension the Shade Sail
With the hardware in place, attach the corners of the shade sail using turnbuckles, D-shackles, or snap hooks. Begin by loosely attaching all corners, then incrementally tension each corner using the turnbuckles until the sail is firm and wrinkle-free. Balanced tension will help the sail withstand wind and avoid sagging.

Maintenance Tips
-
Periodic Checks: Inspect hardware for rust or loosening.
-
Seasonal Adjustments: Tighten the sail during the warm season and consider removing it during harsh winter months.
-
Clean Regularly: Rinse the fabric and check for dirt or mold build-up.
Conclusion
Installing a shade sail on brick using expansion anchors is a manageable DIY project with the right tools and approach. This method offers a secure, long-lasting solution that enhances both the comfort and appearance of your outdoor area. With proper planning and execution, your shade sail will provide stylish sun protection for many seasons to come.