Our YouTube channel includes detailed installation guides, frequently asked questions, product overviews and lots more. We are always open to content ideas so please let us know if there is a topic you would like us to cover.
A Complete Guide to Installing Shade Sail Wall Plates with Anchors

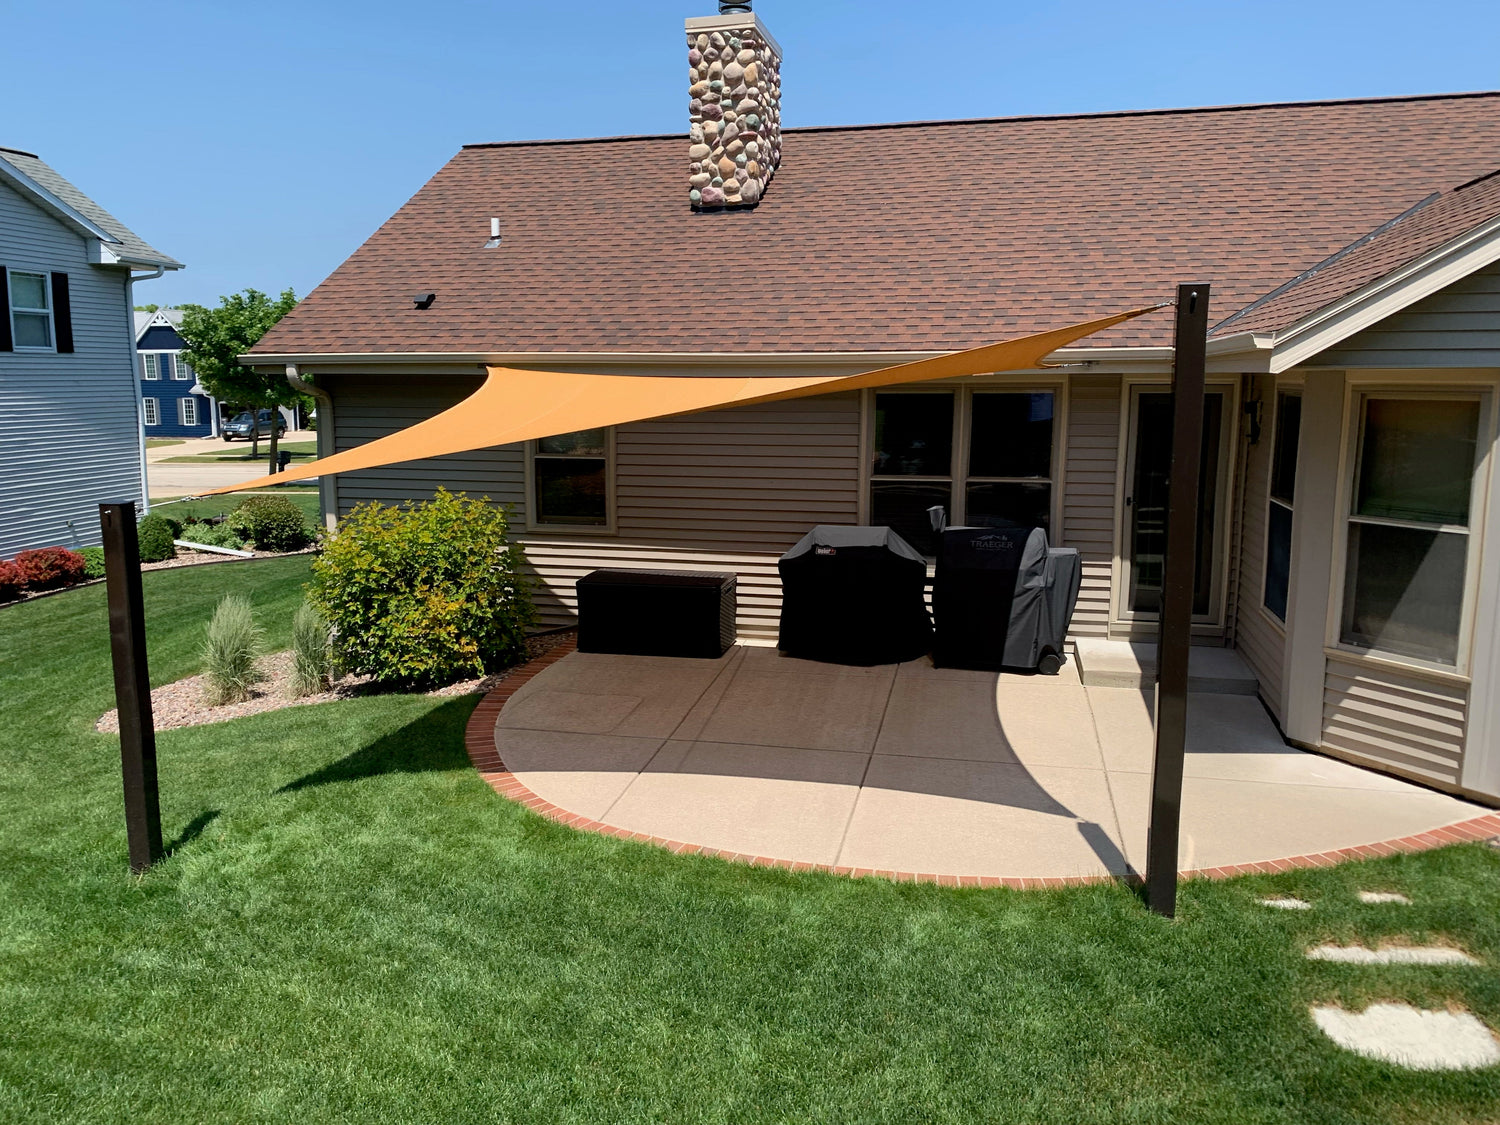
Installing a shade sail is an excellent way to enhance your outdoor space, offering a blend of functionality and style. Whether you're looking to reduce UV exposure on your patio, deck, or backyard, shade sails provide reliable sun protection while elevating the aesthetic of your environment. However, the effectiveness and longevity of a shade sail depend heavily on how securely its wall plates are installed. Here’s a comprehensive guide to getting it right.
Why Secure Installation Matters
Wall plates serve as the anchor points for the tensioned corners of your shade sail. Improper installation can lead to sagging, instability, or even structural damage to your home or building. A secure setup ensures the sail stays taut and performs optimally through wind, rain, and sun.

Choosing the Right Anchors for Your Wall Type
One of the most important decisions you'll make is selecting anchors that match your wall material:
-
Brick or Concrete Walls: Use expansion anchors or sleeve anchors. These provide the strength and durability needed to hold the sail under tension.
-
Wood Surfaces: Heavy-duty wood lag screws are the best choice. Make sure to screw directly into studs or structural beams—not into siding or soft wood alone.
Matching the anchor to the wall type ensures both safety and longevity.
Essential Tools and Materials
Before starting the installation, gather all necessary tools and supplies:
-
Wall plates with pre-drilled holes
-
Appropriate anchors (expansion bolts, lag screws, etc.)
-
Power drill and masonry or wood drill bits
-
Level
-
Measuring tape
-
Pencil or chalk for marking
-
Wrench or socket set
Using quality, corrosion-resistant hardware (like stainless steel) is especially important for outdoor installations.
Marking and Drilling for Precision
Accurate placement of your wall plates is crucial. Here’s how:
-
Measure the Layout: Determine the direction and angle of your shade sail. Use a measuring tape to find equal tension points on the wall.
-
Mark Anchor Points: Use a pencil or chalk to clearly mark where each wall plate will go. Double-check symmetry and angles for even tension distribution.
-
Drill the Holes: Using the correct bit for your anchor type, drill pilot holes carefully. Avoid over-drilling or widening the holes unnecessarily.
A level helps ensure each wall plate is installed straight, which contributes to balanced tension.

Securing the Wall Plates
With holes drilled and anchors inserted:
-
Align the wall plate with the holes.
-
Insert the anchors or lag bolts through the plate holes.
-
Use a wrench or drill to tighten them securely until flush against the wall surface.
Make sure there's no play or wiggle in the wall plate. It should feel rock solid once installed.
Final Checks and Sail Attachment
Before connecting the shade sail:
-
Recheck all plates for stability.
-
Make sure the anchors are tight.
-
Inspect the wall for any signs of cracks or weakness.
Once everything is secure, you can attach the sail using turnbuckles or snap hooks, ensuring each corner is tightened evenly.
Enjoy Your Upgraded Outdoor Space
With your shade sail now professionally mounted, you can enjoy a cooler, more stylish outdoor area. The secure installation ensures the sail remains taut and resilient, giving you peace of mind and shade for many seasons to come.
Whether you're a DIY enthusiast or a homeowner looking to improve your exterior, following these installation best practices guarantees both function and form.


