Our YouTube channel includes detailed installation guides, frequently asked questions, product overviews and lots more. We are always open to content ideas so please let us know if there is a topic you would like us to cover.
How to Install a Roman Shade
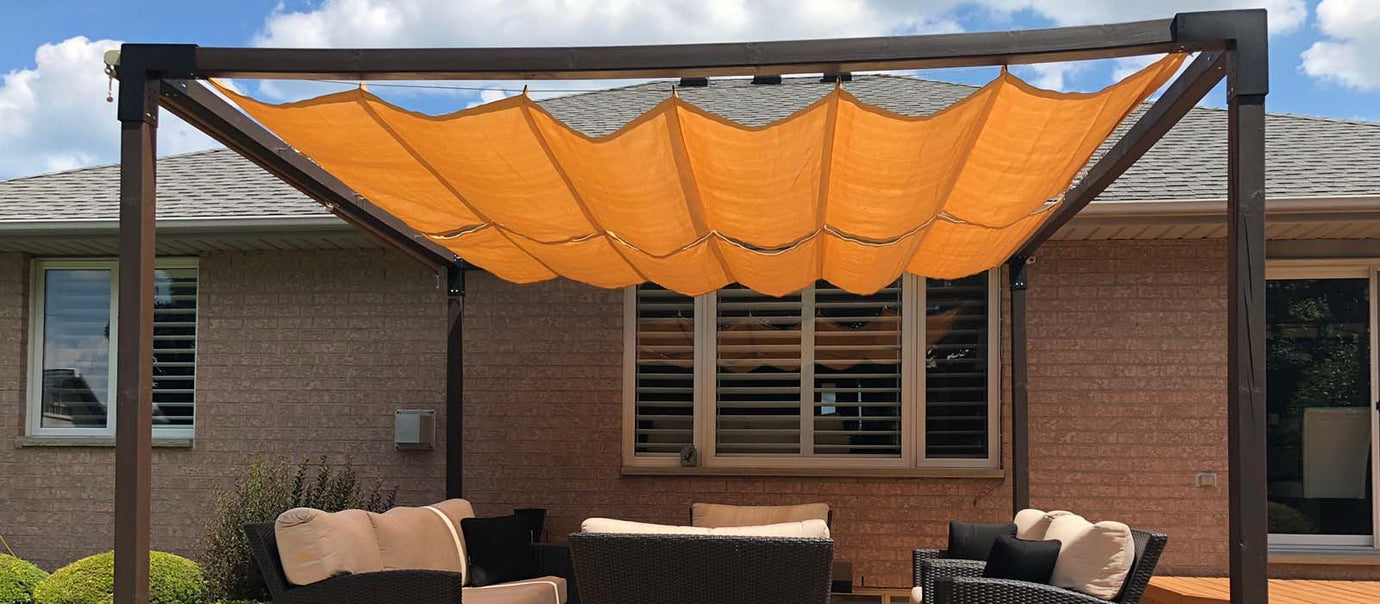
Install a Roman Shade
Ensuring the correct assembly of your Roman Shade is vital to its aesthetic, performance and longevity. The process is straightforward but does require some precise measurements, which we will cover in detail below. The process for standard and custom Roman Shades is the exact same.
Contents
- What comes with your Roman Shade?
- The tools you will need to install your Roman Shade
- How to Install Your Roman Shade
- Establish where you will need to drill
- Measure your Roman Shade from grommet to grommet
- Establish the centre-point of your pergola frame/structure
- Establish where you need to drill the holes for your hardware
- Repeat on the other side of the pergola
- Drill your holes and install your hardware
- Hanging your Roman Shade
- Establish where you will need to drill


What comes with your Roman Shade?
All of the hardware needed to install your Roman Shade comes with your kit. This includes
- 4 x Tensioning Through Bolts - These are installed on both sides of your pergola at each side of the Roman Shade, four in total. The lengths of cable, used to hang your Roman Shade, are attached to the eyes of the through bolts.
- 2 x Lengths of Stainless Steel Cable - The lengths of stainless steel cable run from one side of your pergola to the other. They are attached to the eyes of the through bolts and are used to hang the roller wheels, which attach to your Roman Shade.
- Stainless steel roller wheels (the quantity depends on the length of the Roman Shade) - These run along the stainless steel cable and attach to the grommets of your Roman Shade, ensuring a smooth and fluid movement.
- 2 x Screw Eyes - Screw eyes are installed on both sides of the pergola, in between the through bolts and are used to secure the ends of your Roman Shade in position.


Tools you will need
Installing your Roman Shade does not require a large amount of equipment, however, there are a couple of important items you will need.
- Tape Measure - You will need a tape measure or measuring tape long enough to measure the width of your pergola.
- Pencil - Either a carpenter’s pencil or a regular pencil will do just fine.
- Drill - Either a power drill or a traditional hand drill.
- Drill Bits - You will need two drill bits; 7/16th for the through bolts and 1/8th for the screw eyes.
- Adjustable wrench - This is used to tighten the nuts on your through bolts.
- A Screwdriver - This is used to secure the through-bolt in position while tightening.
- A Hacksaw or Angle Grinder - This is used to trim your through-bolts before installing your acorn nuts.
- Ladder - A sturdy ladder is a must, both for installing the hardware and hanging the Roman Shade.
- Helper - Installing a Roman Shade by yourself is possible; however, it is much easier and safer with two people.
How to Install Your Roman Shade
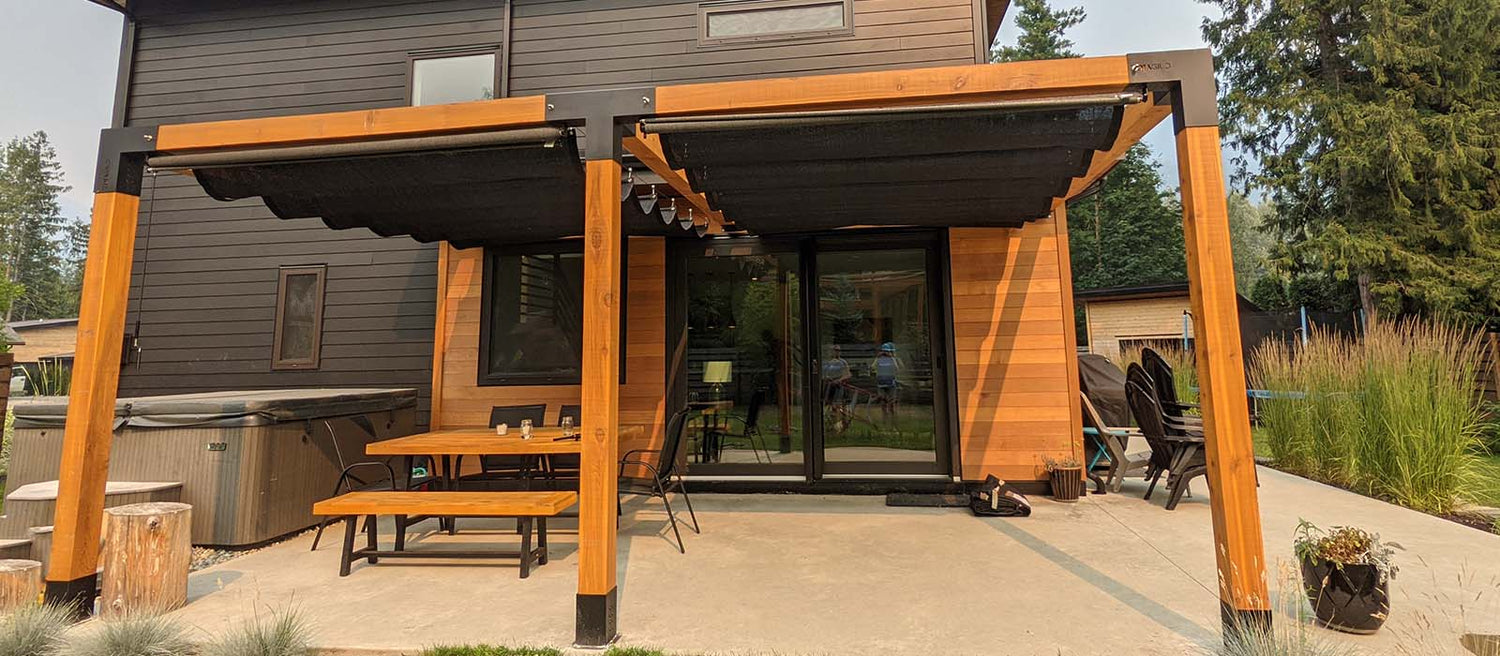
The vast majority of our Roman Shades are installed on pergola frames; as such, this tutorial covers how to install your Roman Shade onto a pergola frame. If you are using an existing structure such as a house, the process is almost the exact same, but the hardware may differ slightly. If in doubt, please contact us.


Establishing where you will need to drill
In order for your Roman Shade to function properly and look its best, it is very important to get these measurements correct. Drilling into a pergola frame is permanent and can be unsightly if done incorrectly. That said, the process is simple and broken down into 4 steps.
1 - Establish the centre-point of your pergola frame/structure
In the case of a symmetrical pergola frame, measure the width of the pergola and divide this measurement by 2. Measure this distance from either side of the pergola and mark a vertical line with a pencil. From this point, measure the thickness of the beam and mark a horizontal line in the middle, intersecting with the vertical line - the middle of this cross is your centre point.
- Mark this centre point on both sides of the wooden beam (you will also repeat this step later on the other side of the pergola).
- For existing structures, this can be a little more complex, depending on where you want to position your Roman Shade and what the other side of your setup looks like. If you would like advice on where to position your Roman Shade, please call us. We are here to help.

2 - Measure your Roman Shade from grommet to grommet
Lay your Roman Shade out on the ground. At each end of the Roman Shade, there will be two grommets (the small steel rings installed in the fabric). Measure the distance between the middle of these grommets and write this down. Please note, this measurement will be slightly different from the width of your Roman Shade; these grommets will line up with your hardware, so it is important to get this measurement exact. Once we have established the centre point of the pergola/structure, we will use this measurement to work out where you will need to drill the holes for the through bolts.


3 - Establish where you need to drill the holes for your hardware
Divide the previous measurement in half; this will establish the distance from the middle of your Roman Shade to the middle of the grommet on either side. Starting at the centre point, measure this distance on either side and draw a vertical line with a pencil. Measure the thickness of the beam and draw a horizontal line that intersects the vertical line drawn before. The centre of this cross is where you will drill the holes for your through bolts. Again, mark these points on either side of the wooden beam, as you will need to drill your hole from both sides.


4 - Repeat on the other side of the pergola
At this stage, on both sides of the beam, you should have the centre point marked and marks on either side of the centre point that line up with the grommets of your Roman Shade. Repeat this step on the other side of the pergola. You should now have a total of 12 crosses.
- 4 x centre point marks - both sides of the pergola on both sides of the beam
- 8 x Through bolt marks - on either side of the centre point on both sides of the beam repeated on both sides of the pergola.
Installing your through-bolts
The first step to installing your hardware is to drill your holes; the second is to install the through bolts. You will notice in your package that the cable comes pre-installed on the eyes of the through bolts; it does not matter which through-bolt goes at which end of the pergola, the setup will be symmetrical once installed. You will need your ladder, power drill, drill bits and hacksaw.
1 - Drill the holes for your through-bolts
Drill all the way through your pergola frame at each of the holes to the sides of your centre points. The through-bolts are 3/8ths in diameter, so we recommend using a 7/16th drill bit for these holes. You will most likely need to drill from both sides to create a hole all the way through the beam.


2- Install your through-bolts
- Check the hardware on your through bolts; there should be 2 nuts, 1 washer and 1 acorn nut on each through bolt. One of the nuts should be flush with the eye, and you can remove the rest of the nuts and the washer before installing.
- Starting on one side of your pergola, insert the first through bolt through the first hole. The eye of the through-bolt should be on the inside of the pergola. Secure the through bolt on the outside of the pergola with a washer first, followed by a regular nut.
- Do this on the opposite side of the pergola. The cable should have a little slack in it; this will come tight once we have tightened the through bolts.
- Starting on one side, insert the screwdriver through the eye of the through bolt and use this to hold it in place. Use the adjustable wrench to tighten the nut on the through bolt. The more you tighten the through bolts, the more taught the cable will be.
- Tighten the through bolt on the other side in the same fashion until you are happy with the tension on the cable.
- In order to install the acorn nut in an aesthetic fashion, you will need to trim the through-bolt with your hacksaw. Note the length of the acorn nut. Do not trim the through-bolt all the way up to the regular nut, as you will need to allow a little thread for the acorn nut to fit over the end.


3- Repeat on the other side
Repeat on the other side of the pergola so you have two taught cables from which you will hang your Roman Shade.

Hanging your Roman Shade
Your Roman Shade comes in 2ft sections, at the end of each section, there is a grommet on either side. These grommets will attach to the roller wheels. Lay your Roman Shade underneath the cables. Start with one end of your Roman Shade and clip the last grommet to the roller wheel closest to the end of the pergola. We recommend alternating sides, clipping one grommet to one cable then clipping the grommet on the opposite side of the Roman Shade to the other cable. Keep repeating this step until all of the roller wheels have been clipped to the grommets. The final step is to secure one end of your Roman Shade to one end of your pergola; this can be either end, they are both symmetrical and it depends from which end you want to open or close your Roman Shade. Attach the built-in clip on one end of the Roman Shade to the corresponding screw eye and your Roman Shade installation is complete.


Installing your screw eyes
This step can be done as you are installing your through-bolts. However, to be absolutely sure that the clip of the Roman Shade lines up with the screw eye, it is worth doing this after you have hung your Roman Shade.
- Take the built-in clip on one end of your Roman Shade and and mark the position where it lines up with the pergola.
- Drill a small hole at the mark for each centre point on the inside of the pergola. The screw eyes only require a pilot hole to prevent the wood from splitting so we recommend using a 1/8th drill bit.
- Using a screwdriver to create leverage, screw the screweye into your pergola.
- Repeat on the other side. You can now use either end of your pergola as the static end of the Roman Shade.