Our YouTube channel includes detailed installation guides, frequently asked questions, product overviews and lots more. We are always open to content ideas so please let us know if there is a topic you would like us to cover.
How do I put up and take down my shade sail?
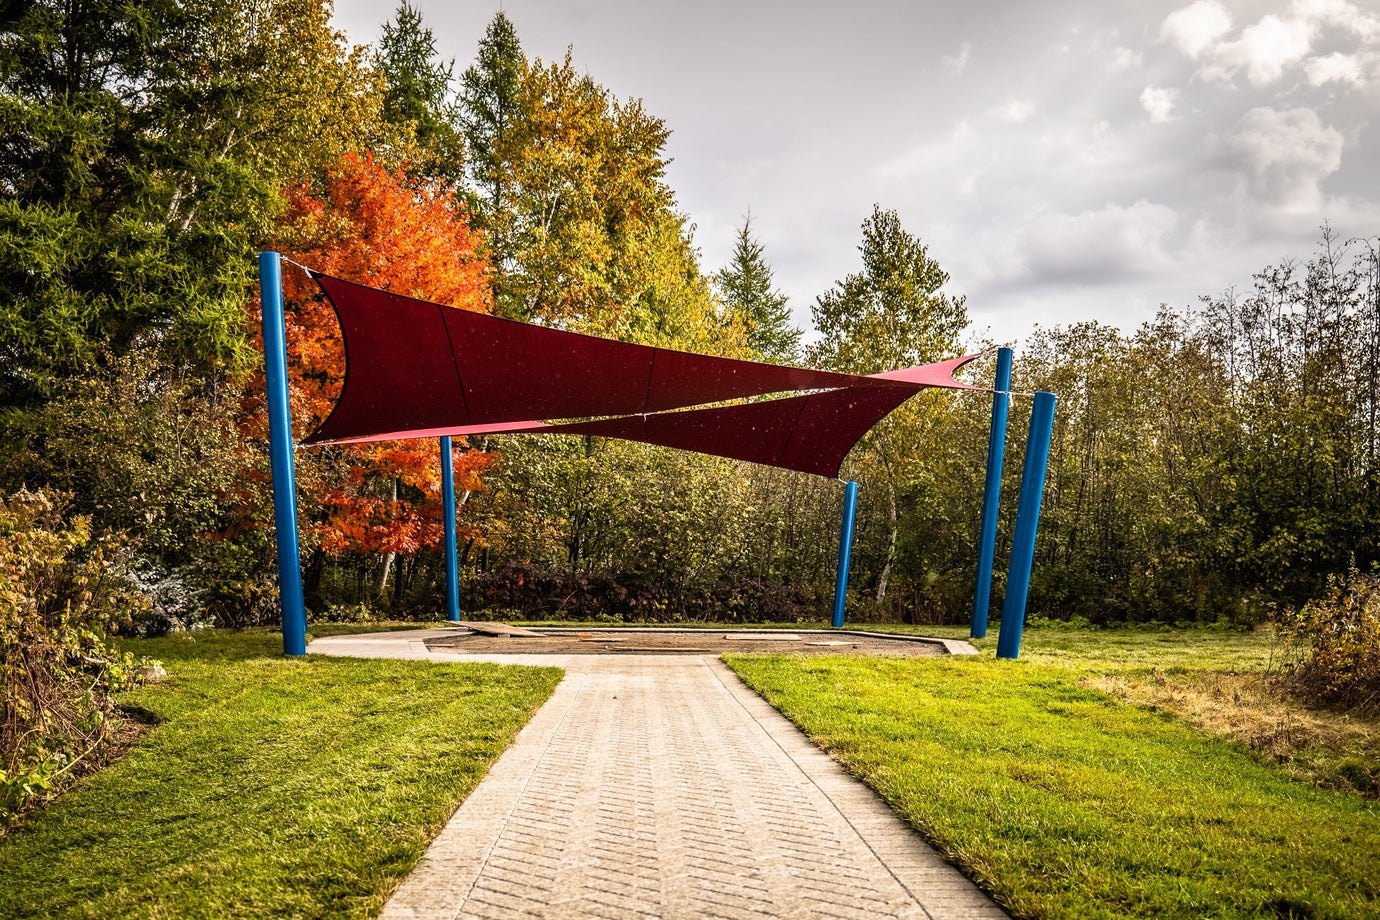
Shade sails are a popular solution for creating stylish and functional outdoor spaces. They offer reliable sun protection, reduce UV exposure, and add a sleek, modern look to patios, gardens, and other open areas. But when it comes to putting up or taking down a shade sail, many homeowners find the process intimidating—especially without clear instructions.
This guide is designed to walk you through it step by step. Whether you're preparing for summer or storing your sail for the winter, we’ll cover the essentials of seasonal installation and removal, including the tools you’ll need and tips for protecting your sail long term. If you prefer visual guidance, our full video tutorial on YouTube offers a hands-on demonstration of how to install and remove a shade sail with confidence and ease.
Installing Your Shade Sail: Step-by-Step
1. Plan Your Layout
Before installing your shade sail, take time to plan your layout. Look at the area you want to cover, and consider the sun’s path, wind direction, and nearby obstacles like trees or walls. Choosing the right shape and size for your space is key to getting effective coverage and long-term performance.
Also, be sure to select a sail made from high-quality outdoor fabric. Materials designed to resist UV rays and weather exposure will hold up better over time.
2. Gather Your Tools
Having the right tools on hand will make setup easier. You'll need a tape measure, chalk or marker, a drill with the correct bits, a wrench or ratchet, and a spirit level. A pulley or tensioning system can be helpful too, especially for getting the sail tight without excessive strain.
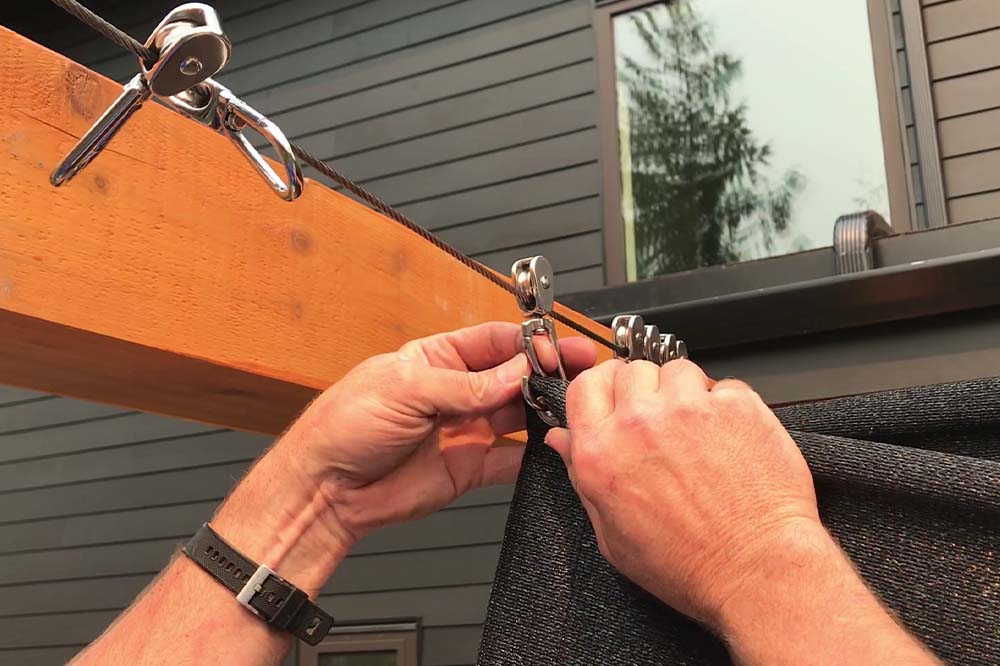
3. Set Anchor Points
Anchor points are essential for both safety and function. You can use existing structures like fences or roof beams, or install steel or wooden posts. Make sure posts are deep and secure enough to handle tension over time. When using cable clamps or eye bolts, place them so you can adjust tension easily from each corner.
4. Attach and Tension the Sail
Start by loosely connecting all corners using turnbuckles or adjustable fittings. Then tighten each one evenly, making small adjustments until the sail is firm. A level can help you check alignment and maintain proper slope for water runoff.
5. Make Final Checks
Once everything is secure, inspect for sagging or uneven tension. The sail should be tight but not overstretched. Over-tensioning can lead to wear at the corners or stress on anchor points, especially in windy conditions. Adjust as needed to maintain a clean, secure installation.
Taking Down Your Shade Sail: Step-by-Step
1. Inspect Before Removal
Before taking down your shade sail, give it a quick inspection. Look for signs of wear, frayed edges, or stretched corners. Catching small issues now will make reinstallation smoother and help extend the life of your sail.
2. Loosen the Tension Safely
Start by loosening any turnbuckles, pulleys, or tensioning hardware. Release tension gradually to avoid stressing the fabric or hardware. As you detach each corner, hold the sail firmly to prevent sudden movement, especially if it’s windy.
3. Clean and Store Properly
Clean your sail with mild soap and water to remove dirt, pollen, or debris. Let it dry completely to avoid mold or mildew during storage. Roll it—rather than fold it—to prevent creasing, and store it in a dry, shaded place. Proper storage is key to maintaining material strength for future seasons.
Additional Tips and Considerations
-
Check the Weather
Try to install or remove your shade sail on a calm day. Windy conditions can make handling the fabric more difficult and increase the risk of accidents or damage during the process. -
Plan for Seasonal Care
Before each season, inspect your sail for loose stitching, worn corners, or rusted hardware. A quick seasonal check helps prevent bigger issues and keeps your sail in good shape for longer use. -
Prioritize Safety
Always use ladders or scaffolding with care, especially when working at height. If your sail is large or the anchor points are difficult to reach, having a second person to assist can make the job faster and safer.

FAQs: Shade Sail Setup and Removal
Do I need to take down my shade sail during a short vacation?
If you’ll be away during a stormy season or in an area prone to high winds, it’s a good idea to take the sail down temporarily. For short trips in calm weather, it's usually fine to leave it up as long as it's properly tensioned and anchored.
Can I reuse the same anchor hardware when reinstalling my sail?
Yes—if the hardware is still in good condition. Check for rust, wear, or loosening. Replacing any compromised parts before reinstalling your sail will improve safety and help maintain proper tension.
How long does it typically take to install or remove a shade sail?
With the right tools and help, most standard-sized sails can be put up or taken down in 30 to 60 minutes. Custom or oversized sails may take longer, especially if they involve tall posts or complex anchor points.
Conclusion
Our YouTube channel is a valuable resource, offering a variety of detailed installation guides, answers to frequently asked questions, and product overviews. We are constantly updating our content and welcome suggestions for topics you would like us to cover.
For those looking to explore more about shade sail components, our article on Shade Sail Posts: The Definitive Guide provides an in-depth look at the different types of posts available and their installation methods. Additionally, if you're interested in learning about privacy panel mounting options, our comprehensive guide covers everything you need to know.